
Built-in SSH server
Introduction
The Border0 Connector comes with a built-in SSH server. This makes it very easy to get started, as there's no additional configuration required. The built-in SSH server only listens on the tunnel to Border0, which means it's not listening on port 22 on your server and won't collide with any existing SSH services you may have running on your server already.
1 - Enabling the SSH server in your connector.
By default, the built-in SSH server is enabled for all connectors and will appear as a connector-managed Socket.
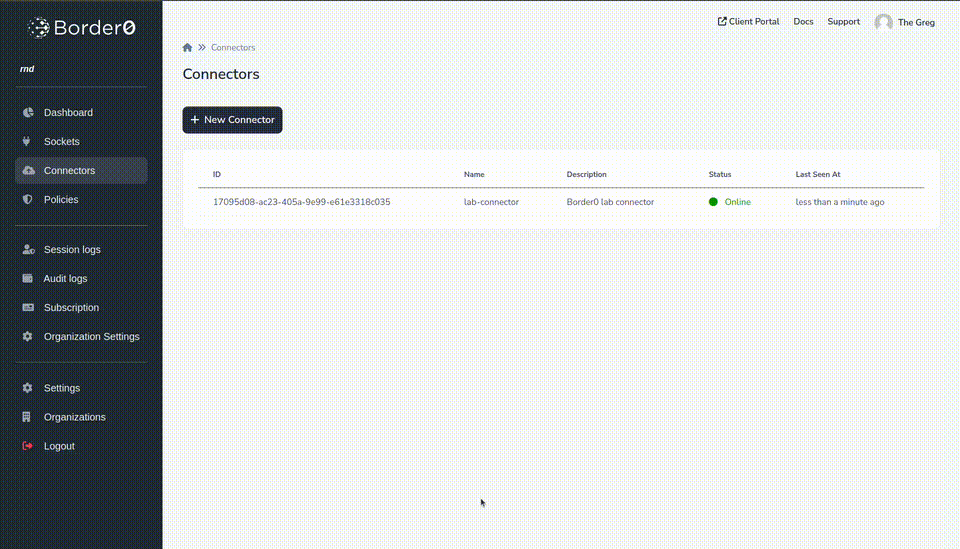
- In the Connectors page navigate to your connector.
Connector Settings Page
Here, we can see the details and edit the properties of our connector.
- Select Actions and Click on Edit
Configure Connector
Among editing name and description, we can toggle settings for built-in SSH
- Toggle Enable Built-In SSH Service to turn the feature on or off.
That's it; now click the Submit button. And you should have access to your connector via the built-in SSH server.
2 - Connect the Connector built-in SSH Service
As the example above shows, logging into our connector can be done from the same connector management page.
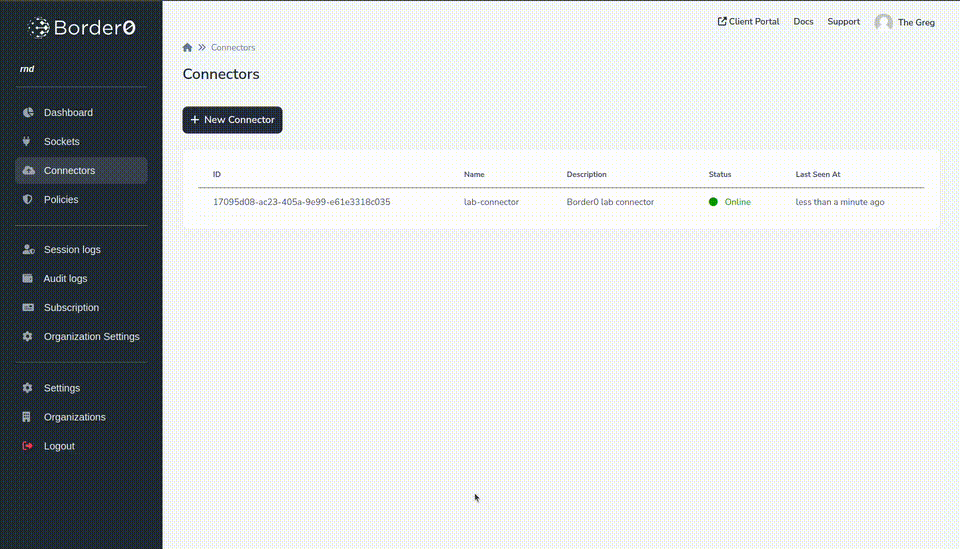
- In the Connectors page, navigate to your connector.
Connector Settings Page
Here, we see the details of our connector. You should see a blue Connect button if your connector is alive and has the SSH server enabled.
- Select Connect and Click on it
You will be directed to the client portal, and a web-based SSH session is started.
SSH usernameNote that the SSH server process will run as the user that started the border0 Connector. If this process starts as user root, you can log in as any valid system user, including root.
If you run the process as a non-root user, then SSH requests to this service should always be done as the same system user.
Updated about 1 year ago