
Access to Snowflake Databases
🛡️ Introduction
In this guide, we'll secure access to a Snowflake server using Border0.
We'll walk through the following steps together:
- Create a Snowflake socket and link it to our connector
- Connect to your Snowflake socket
- Watch the recording
- Use the Border0 Desktop app to access your database
1 - Collecting Required Information
You can make a Snowflake server available with Border0; before we get started let's make sure you have the following prerequisite information ready.
| Account | your Snowflake account identifier |
| Username | your Snowflake username |
| Password | your Snowflake password |
NoteCurrently, Border0 supports Snowflake access using username and password authentication. Private key authentication is not yet supported. If you require private key authentication, please contact support at
[email protected]
2 - Create a Snowflake Socket and Link it to Your Connector.
Now that we have all the prerequisites ready, it's time to create a Snowflake socket and link it to our connector.
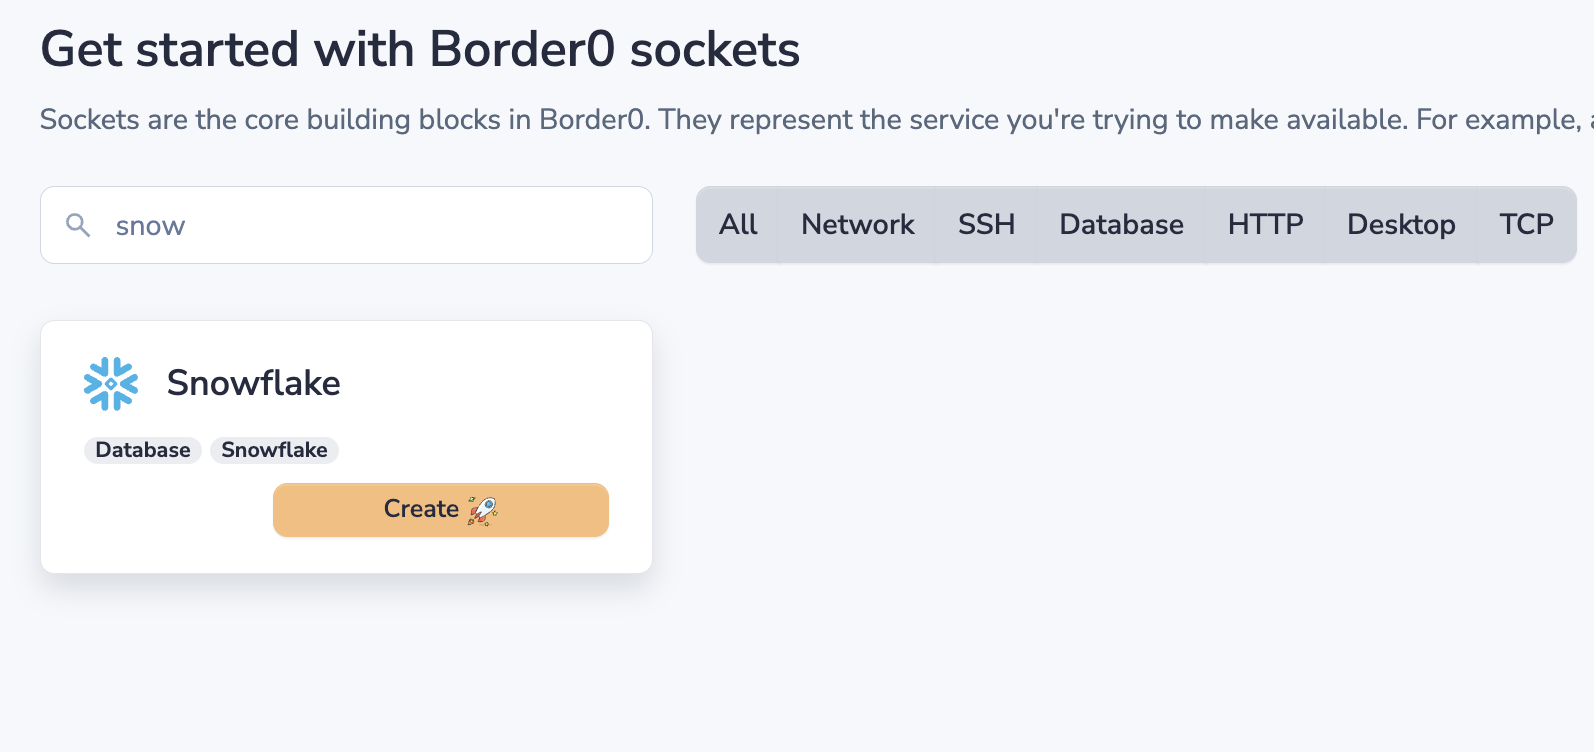
- In the Sockets page, click on Add New Socket and select Snowflake.
- Set a name and, optionally, a description.
Upstream Configuration
Here we can provide the snowflake account, username and password informations. This will allow your connector to connect and authenticate to Snowflake
Finally, Select your connector from the list.
That's it, now click the Create New Socket button. You should now have access to your Snowflake server.

Securing your credentialsIn this example, we provided the Snowflake credentials directly to the Border0 API. These credentials are needed for the connector running in your environment to establish a secure upstream connection to the server. While Border0 stores these credentials in encrypted form, we strongly recommend that you keep them local to the connector.
You can have the Border0 connector integrated with your secret management solution for enhanced security and keep your secrets local. Learn more about this in our guide:
Using Secret Managers to Store Credentials
If you experience any issues with your new socket, it's typically because it can't connect to the upstream database. To troubleshoot, take a look at the connector logs as described here
3 - Connecting to Your Snowflake Server
Next up, let's connect to our Snowflake server through Border0.
Using policies to control access to Snowflake serversControlling access to Snowflake servers can be achieved using Border0 policies. For Snowflake, ensure database permissions are enabled in your policy.
Currently, there is no support for database specific specific policy options, as there are with MySQL or Postgres.
ImportantYou must have the snowsql command line tool available in your device for using Snowflake sockets.
To launch access to your Snowflake socket, you can use the Border0 cli command border0 client snowflake which will show you all the Snowflake servers you have access to. After selecting the snowflake server you'd like to connect to, the border0 cli will automatically launch the snowsql cli tool.
$ border0 client snowflake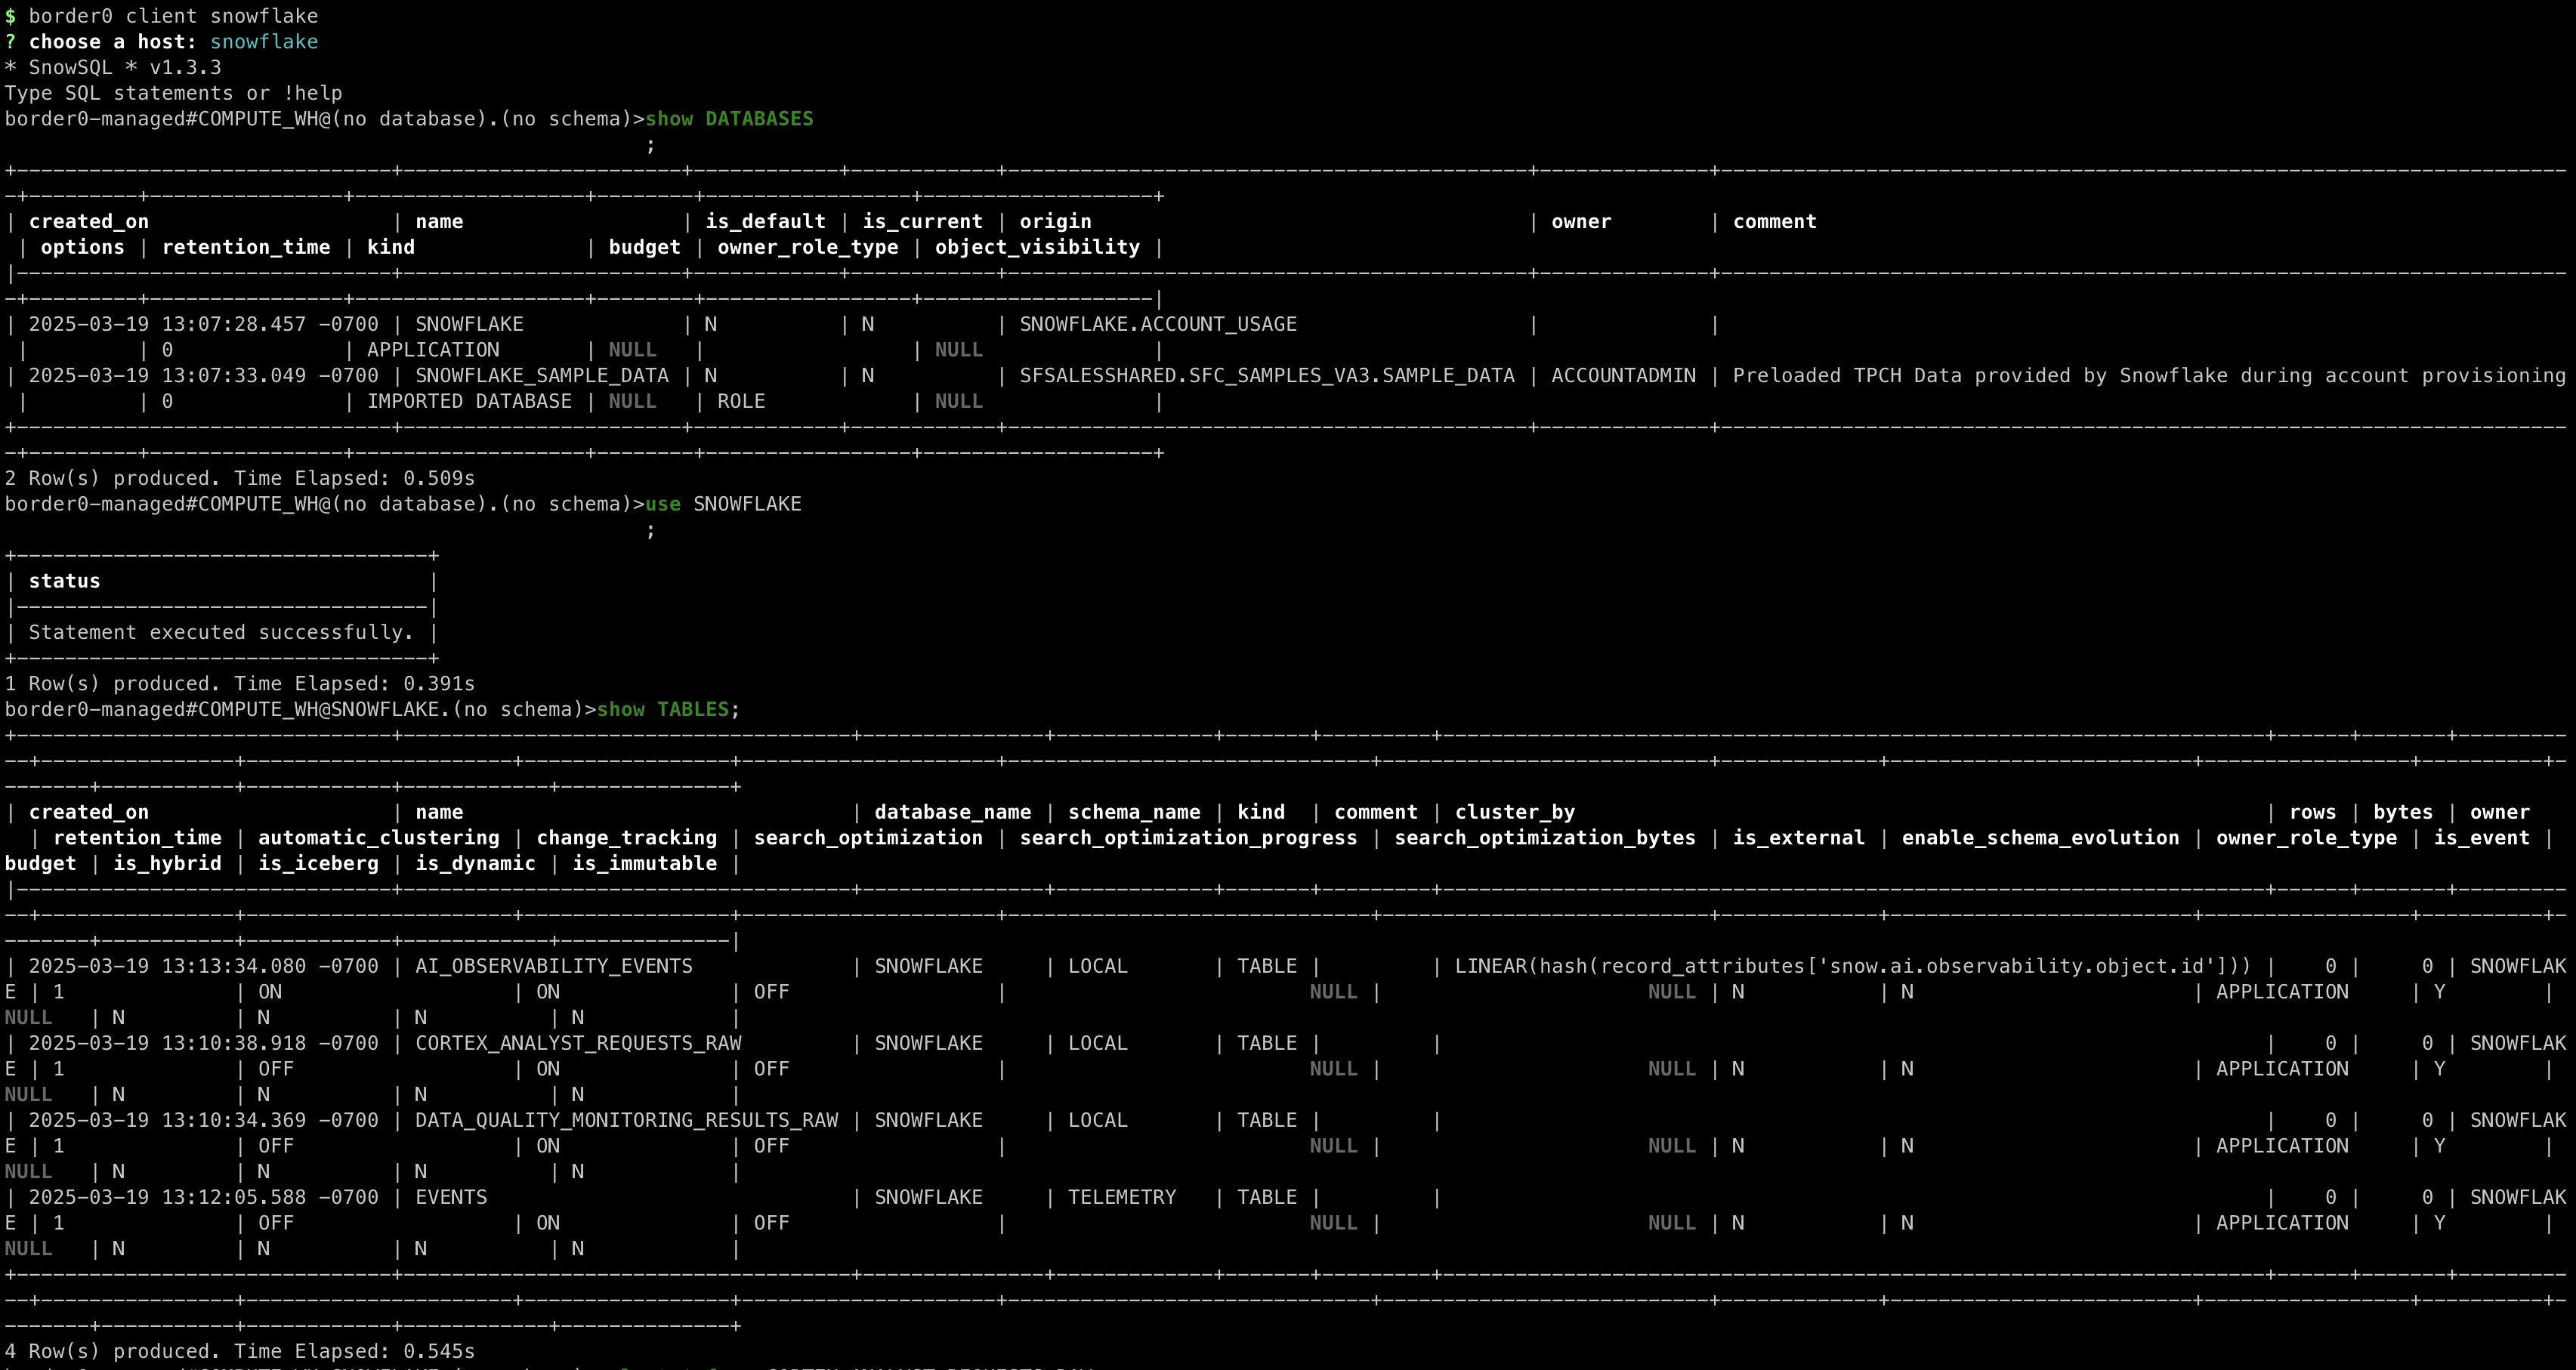
4 - Reviewing Session Details and Recordings
To review your Snowflake session, open the Border0 portal and select the corresponding database socket. Go to the Sessions tab and find your session. Clicking on the session will display a recording of the activity. This recording details the SSO identity used (who connected), the originating IP address, the device, connection time, and a complete log of all executed queries.

Troubleshooting
If you encounter any issues with your new socket, it's typically because it can't connect to the upstream database. To troubleshoot that take a look at the connector logs as described here
If that doesn't help resolve the issue, feel free to contact us, and we'd be happy to help you troubleshoot.
Updated 4 months ago