
Access Requests
Achieving zero standing privileges with Border0 Access requests
Using Border0's Access Request feature, administrators can provide users with the ability to request Just-In-Time access to services. This ensures that users only have access to the requested services for a minimum amount of time, helping you achieve Zero Standing Privileges (ZSP).
High level overview
To provision access requests, you first need to create an Access Request "Approval Flow." This can be done in the Border0 Admin portal under Access Requests > Approval Flow. Each approval flow defines who can request access to what resources (sockets), and who can approve the request. For example, you can define a flow for the Support team to request access to the production database, and all requests need to be approved by the DB team. As a Border0 Admin, you can define multiple approval flows.
To request access, Border0 clients can use the Border0 Client Portal. If there are any access request flows applicable to the client user, a new tab at the top will appear called "Access Request." From here, the user can discover the resources to which access requests can be submitted and submit the actual request with a justification.
Submitting an approval request
Creating an Approval Flow
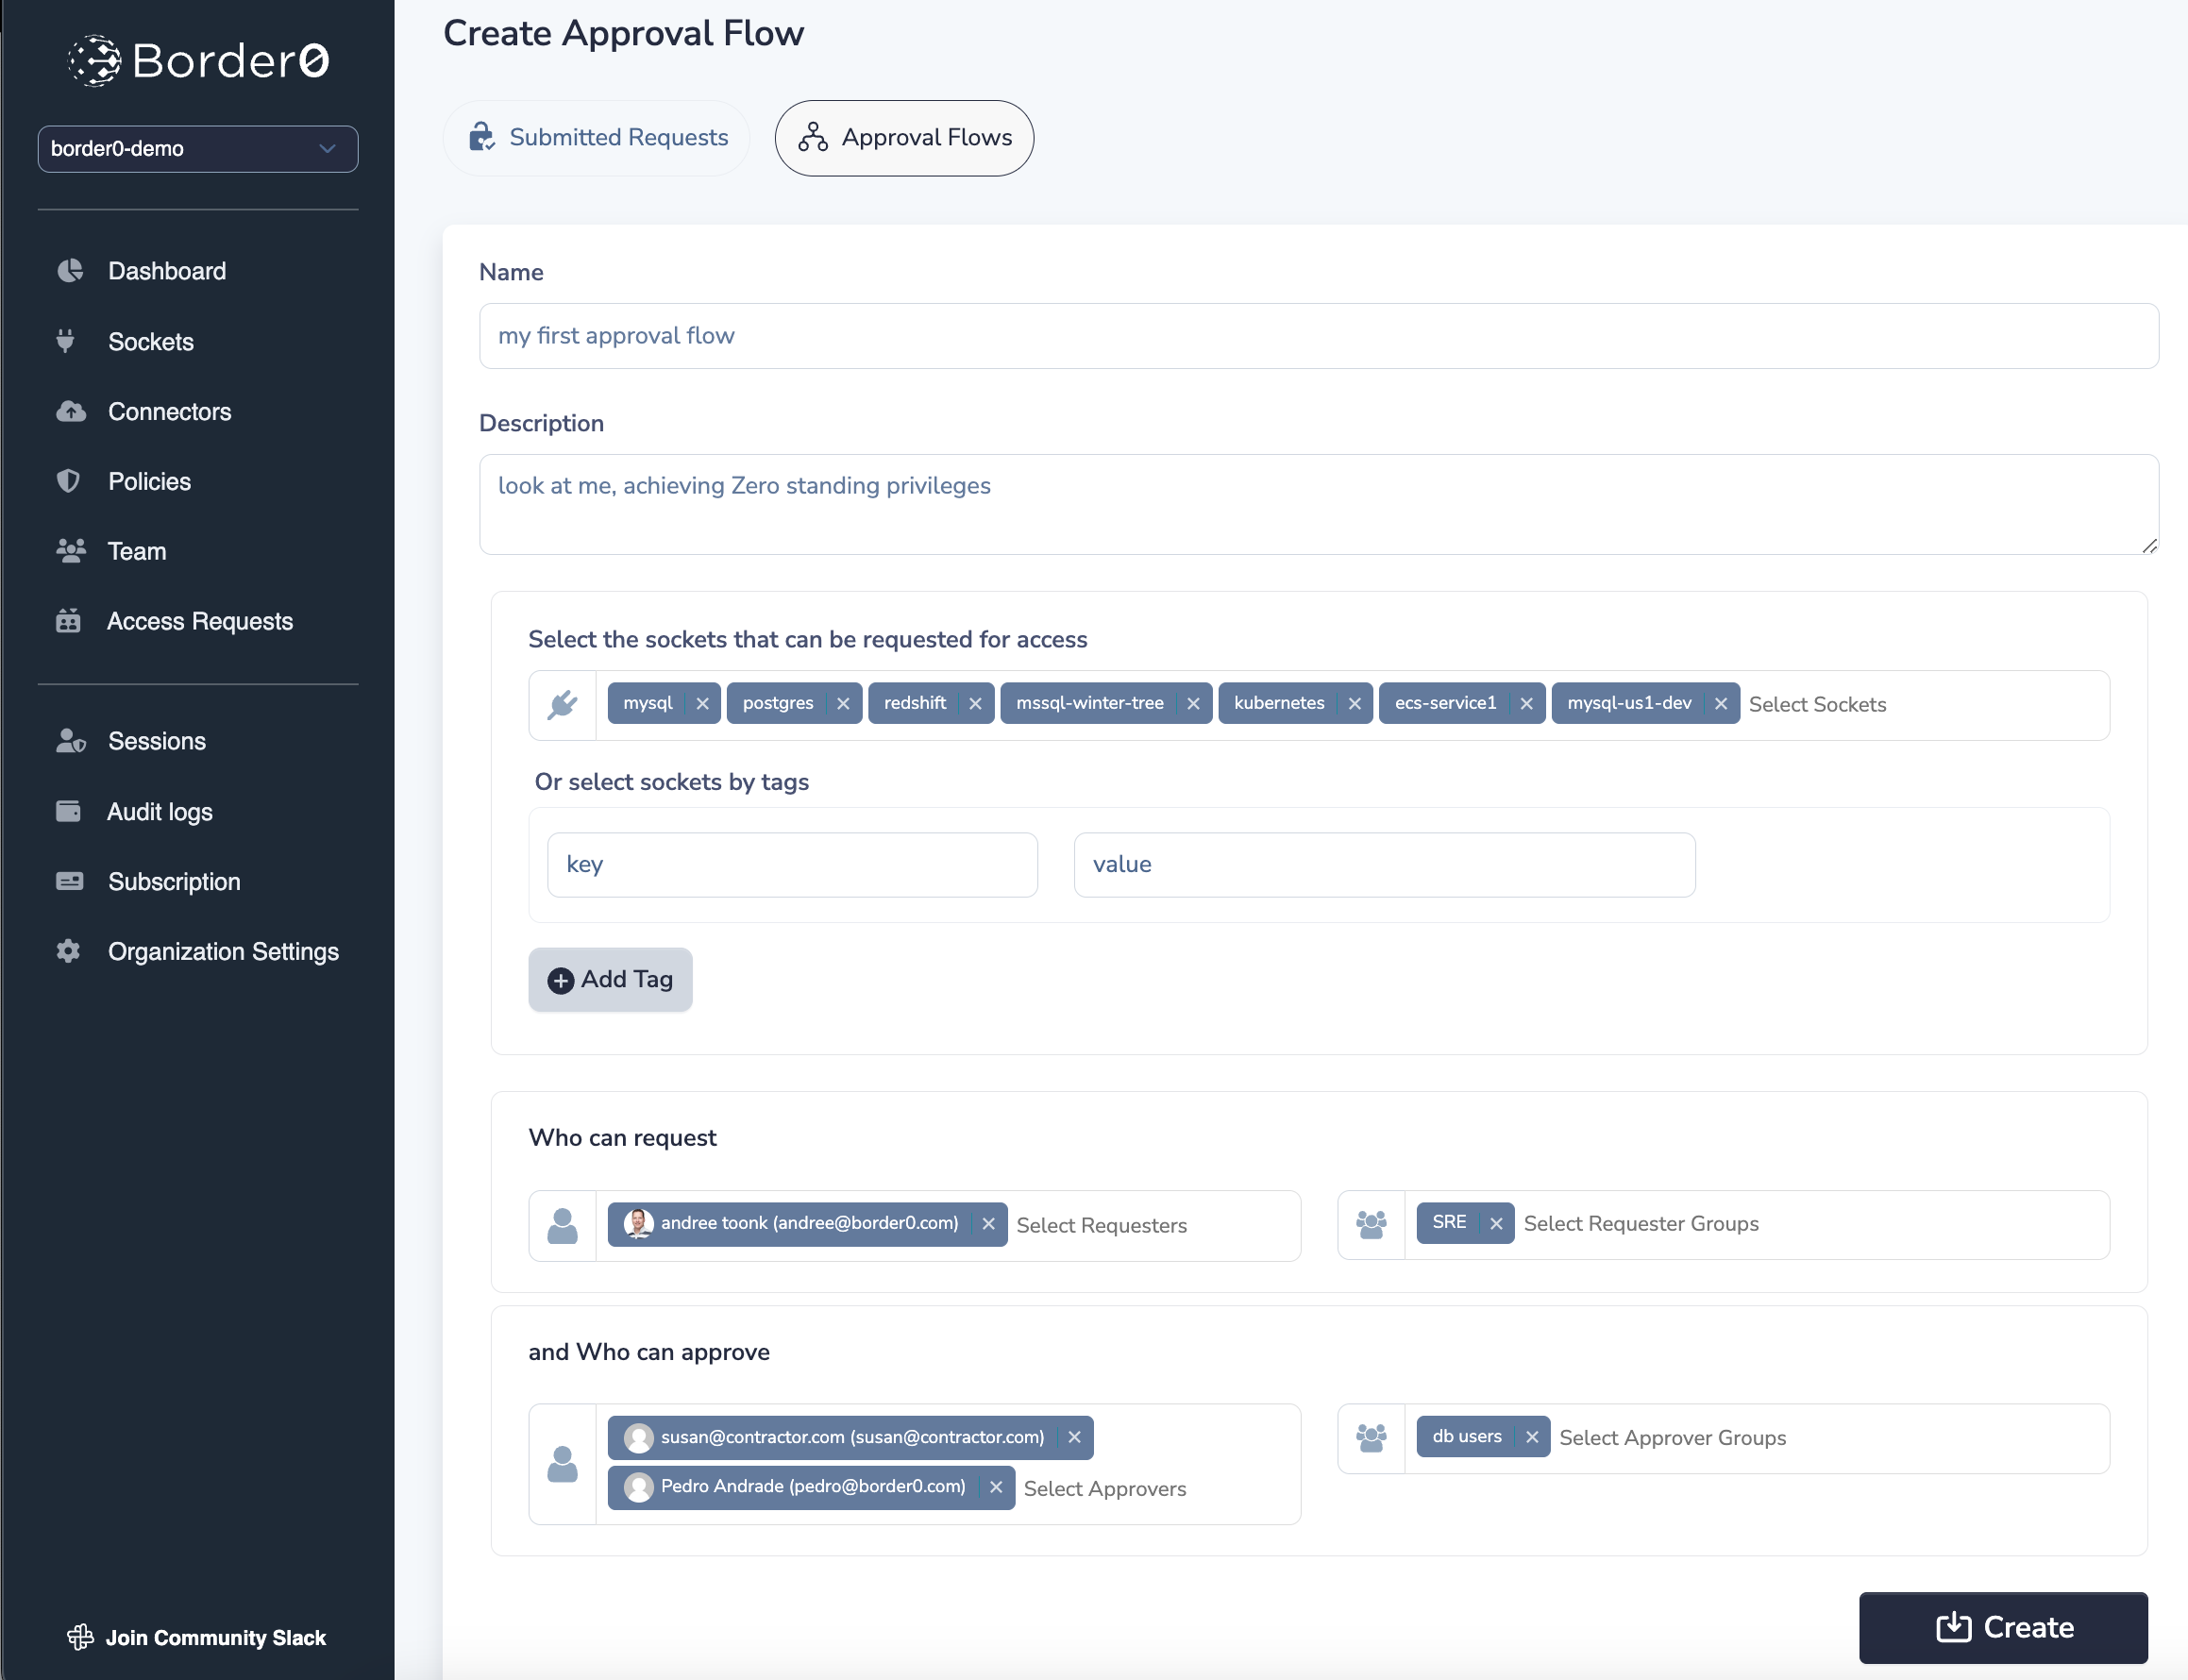
To create or manage an approval flow, select "approval flow" from the Access request menu. To create a new approval flow, select "Add approval flow".
In the form, provide the approval flow with a name and, optionally, a description. This is only relevant for the administrators and help you identify the flow. Next, select which services (sockets) can be requested as part of this request flow. You can provide the socket names directly, or use Socket Tags to automatically include the right sockets based on tags.
Next, include the users or user groups that can request access to these sockets. Finally, define the users that can approve these requests, either individual users or by group..
Requesting Access
Border0 client users can discover all sockets they can request access to through the client portal. The access request feature will be visible on the second tab at the top of the screen, called "Access Request." From here, users can select one or more sockets. After that, click the "Create Access Request" button in the bottom right. A new menu will show. Here the user can select the duration and provide a justification.
After submitting the access request, users can see the details and status of each request in the "Submitted Access Requests" menu on the left. By clicking on a request, users can see who the approvers are, in case some gentle nudging is required..

Submitting an access request
Managing and Approving an Access Request
After the user has submitted an access request, all approvers will receive a notification email like the one below.

Access request notification
Approval can also see all access requests in the portal, under the "submitted Access Requests" menu.
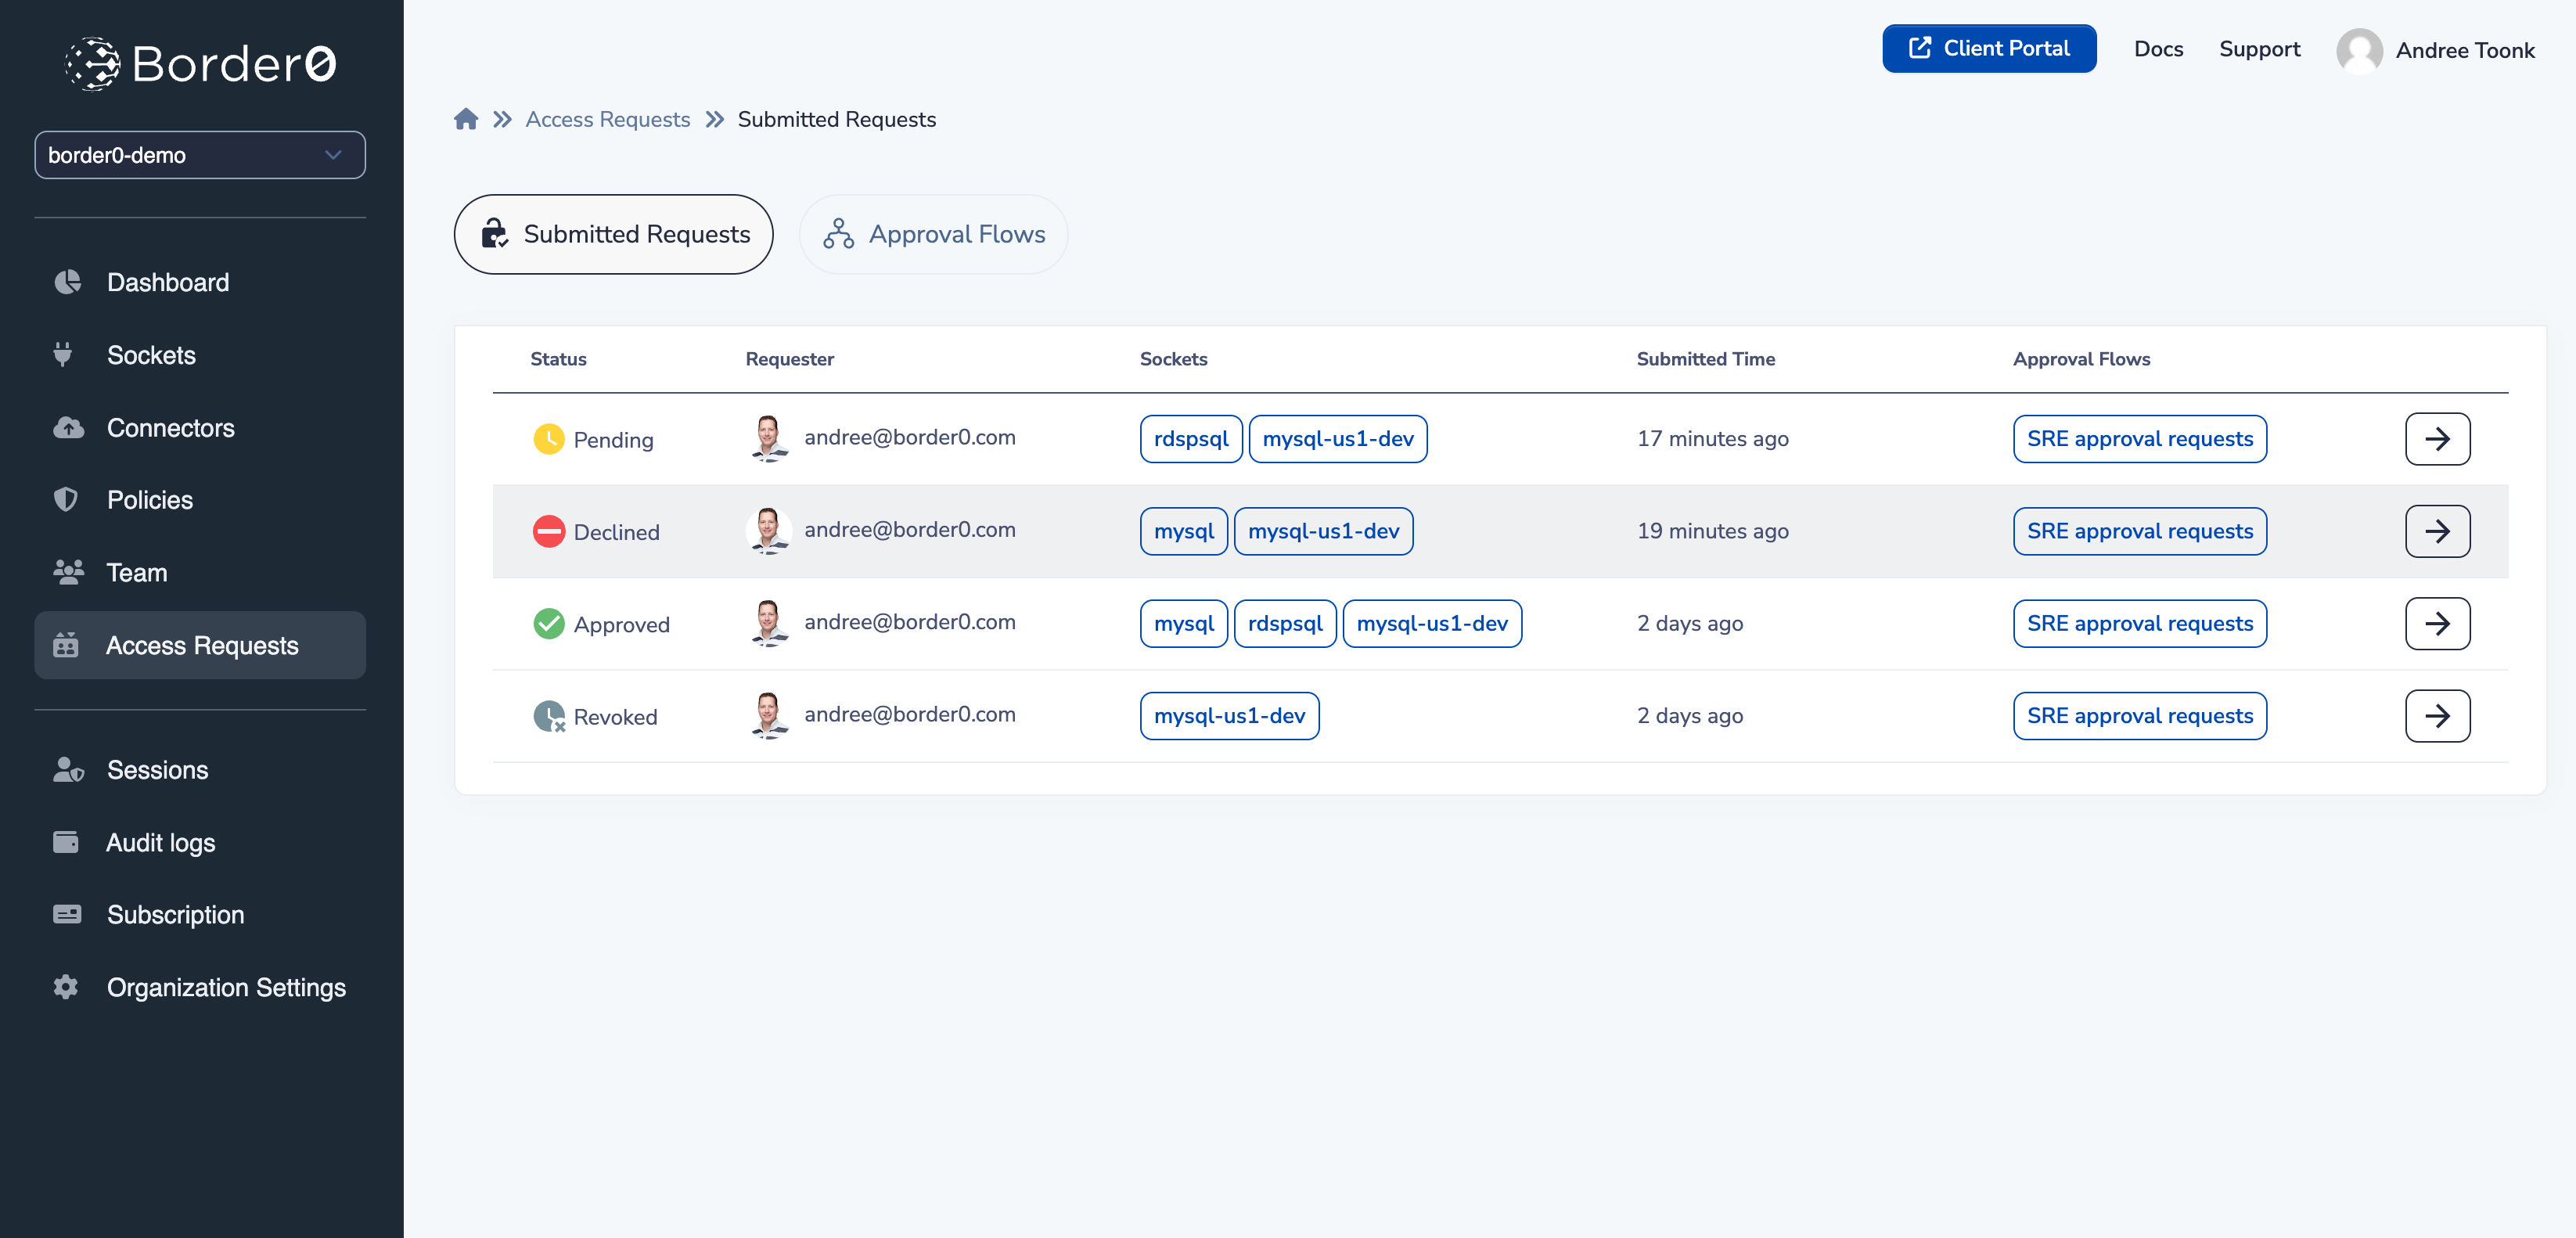
Overview of all access requests
To approve or otherwise manage an access request, click on the request and validate the details. Here you can see the details such as who requested access to what resources (sockets), for what duration, and with what justification. Assuming you wish to approve the request, click approve.
A new menu will appear, allowing you to further tune the permissions for this user. For each access request, a new policy is created, allowing you to define fine-grained application-aware policies. For example, you can allow the user to only log in as "user support" to a given SSH service, only allow access to a certain Kubernetes namespace, or only allow Read-Only access to databases. This will give you the confidence that the user will only have limited access to the resources needed to complete the task as outlined in the user's justification..
Access request approval and tune permissions
Access and Session log
After the approver approves the request, the requester will receive a notification email informing them that access has been approved, and the user can then access the requested sockets.
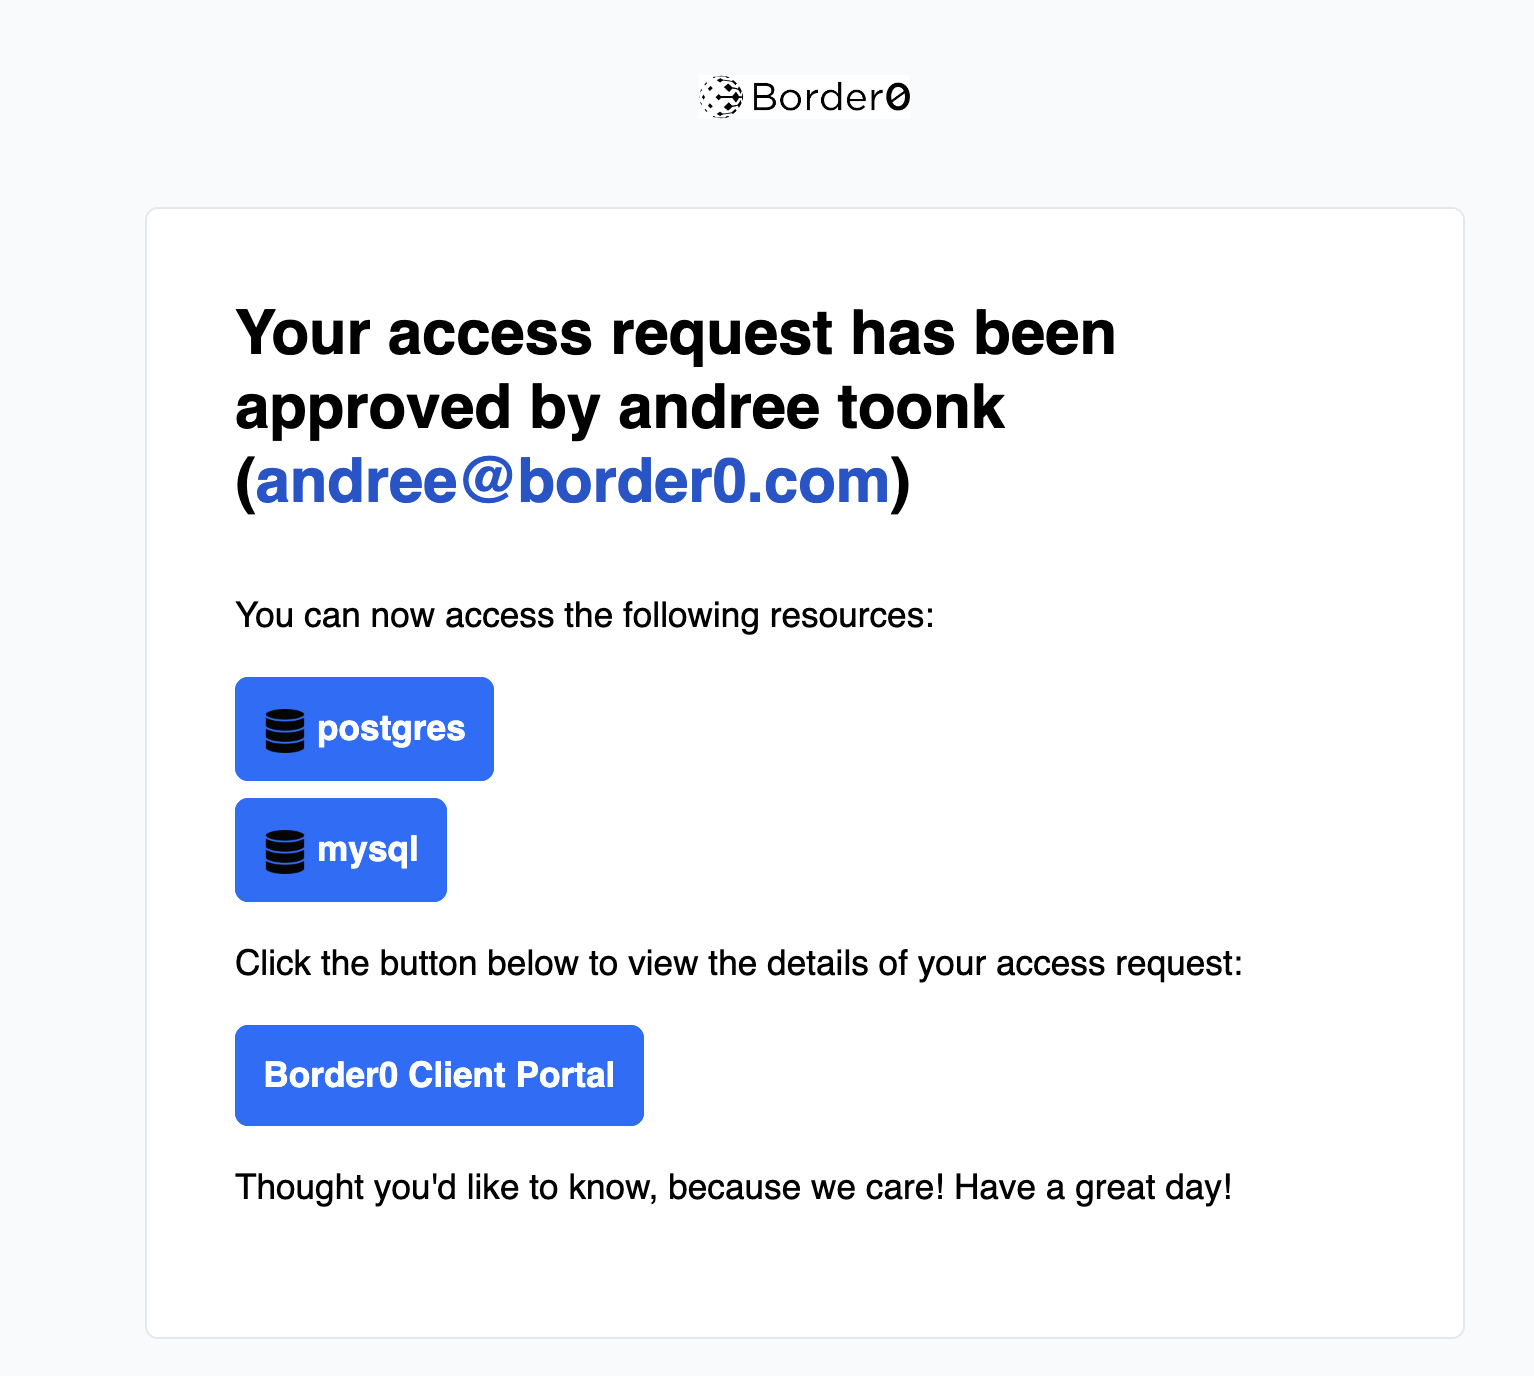
Approval notification
Audit and Session logs
Every access request contains a full set of audit trails and links all relevant session logs to the request details. This allows administrators and auditors to see exactly who requested access to what resources, who approved the request, what fine-grained permissions were granted, and finally, with session replay capabilities, what commands were executed during the sessions.
Session replay logs linked to the access requests.
Updated about 1 year ago