
Expose any TCP Service
Using border0, you can make any TCP services available to your clients, including TCP services in your private network. This allows you to provide connectivity with granular control, leveraging SSO-based identity access and session logging, without having to make the whole network or IP available. This is particularly useful for internal services or services behind firewalls that require strict access control and access logs.
Creating a TCP Service Socket
To make a TCP service socket available, follow these steps:
-
Create a New Socket: Click on "New Socket."
-
Select TCP Service: Choose the "TCP Service" socket type.
-
Configure the TCP Service:
-
Provide Socket Details:
- Name: Give your TCP service socket a descriptive name (e.g., "internal-database").
- Description (Optional): Add an optional description for clarity (e.g., "Access to the internal database on port 3306").
- Upstream Configuration:
- Hostname: Enter the hostname or IP address of the server hosting the TCP service.
- Port: Enter the port number on which the TCP service is listening.
-
Connector: Select the appropriate connector that has network access to the upstream service.
After creating the new socket, the TCP service will be accessible to clients authorized via policy. Users with the correct permissions will be able to access the service using their SSO or VPN identity. Session logs will record which identities accessed the TCP service
Creating a TCP socket
Policies
To control which users have access to the TCP service, you must configure the appropriate policies. Users who should have access to the service must have the tcpor tls permission enabled in their policy.
This specific permission controls access to resources (Sockets) of TCP . Without this permission, even if a user is connected to border0, they will not be able to access the TCP service.
By enabling this permission in the appropriate policy and assigning that policy to the correct users, you control who can utilize the TCP service.
Accessing the TCP Service
Once the socket is created and the user has the correct permissions, they can access the TCP service using any client they normally would. Simply connect to the newly created socket name and the same port you provided for the upstream port. The specific method of access might vary depending on the client application you application you are using.
After access the service a new session log entry will appear, displaying what SSO identity, from device accessed the service when and from where.
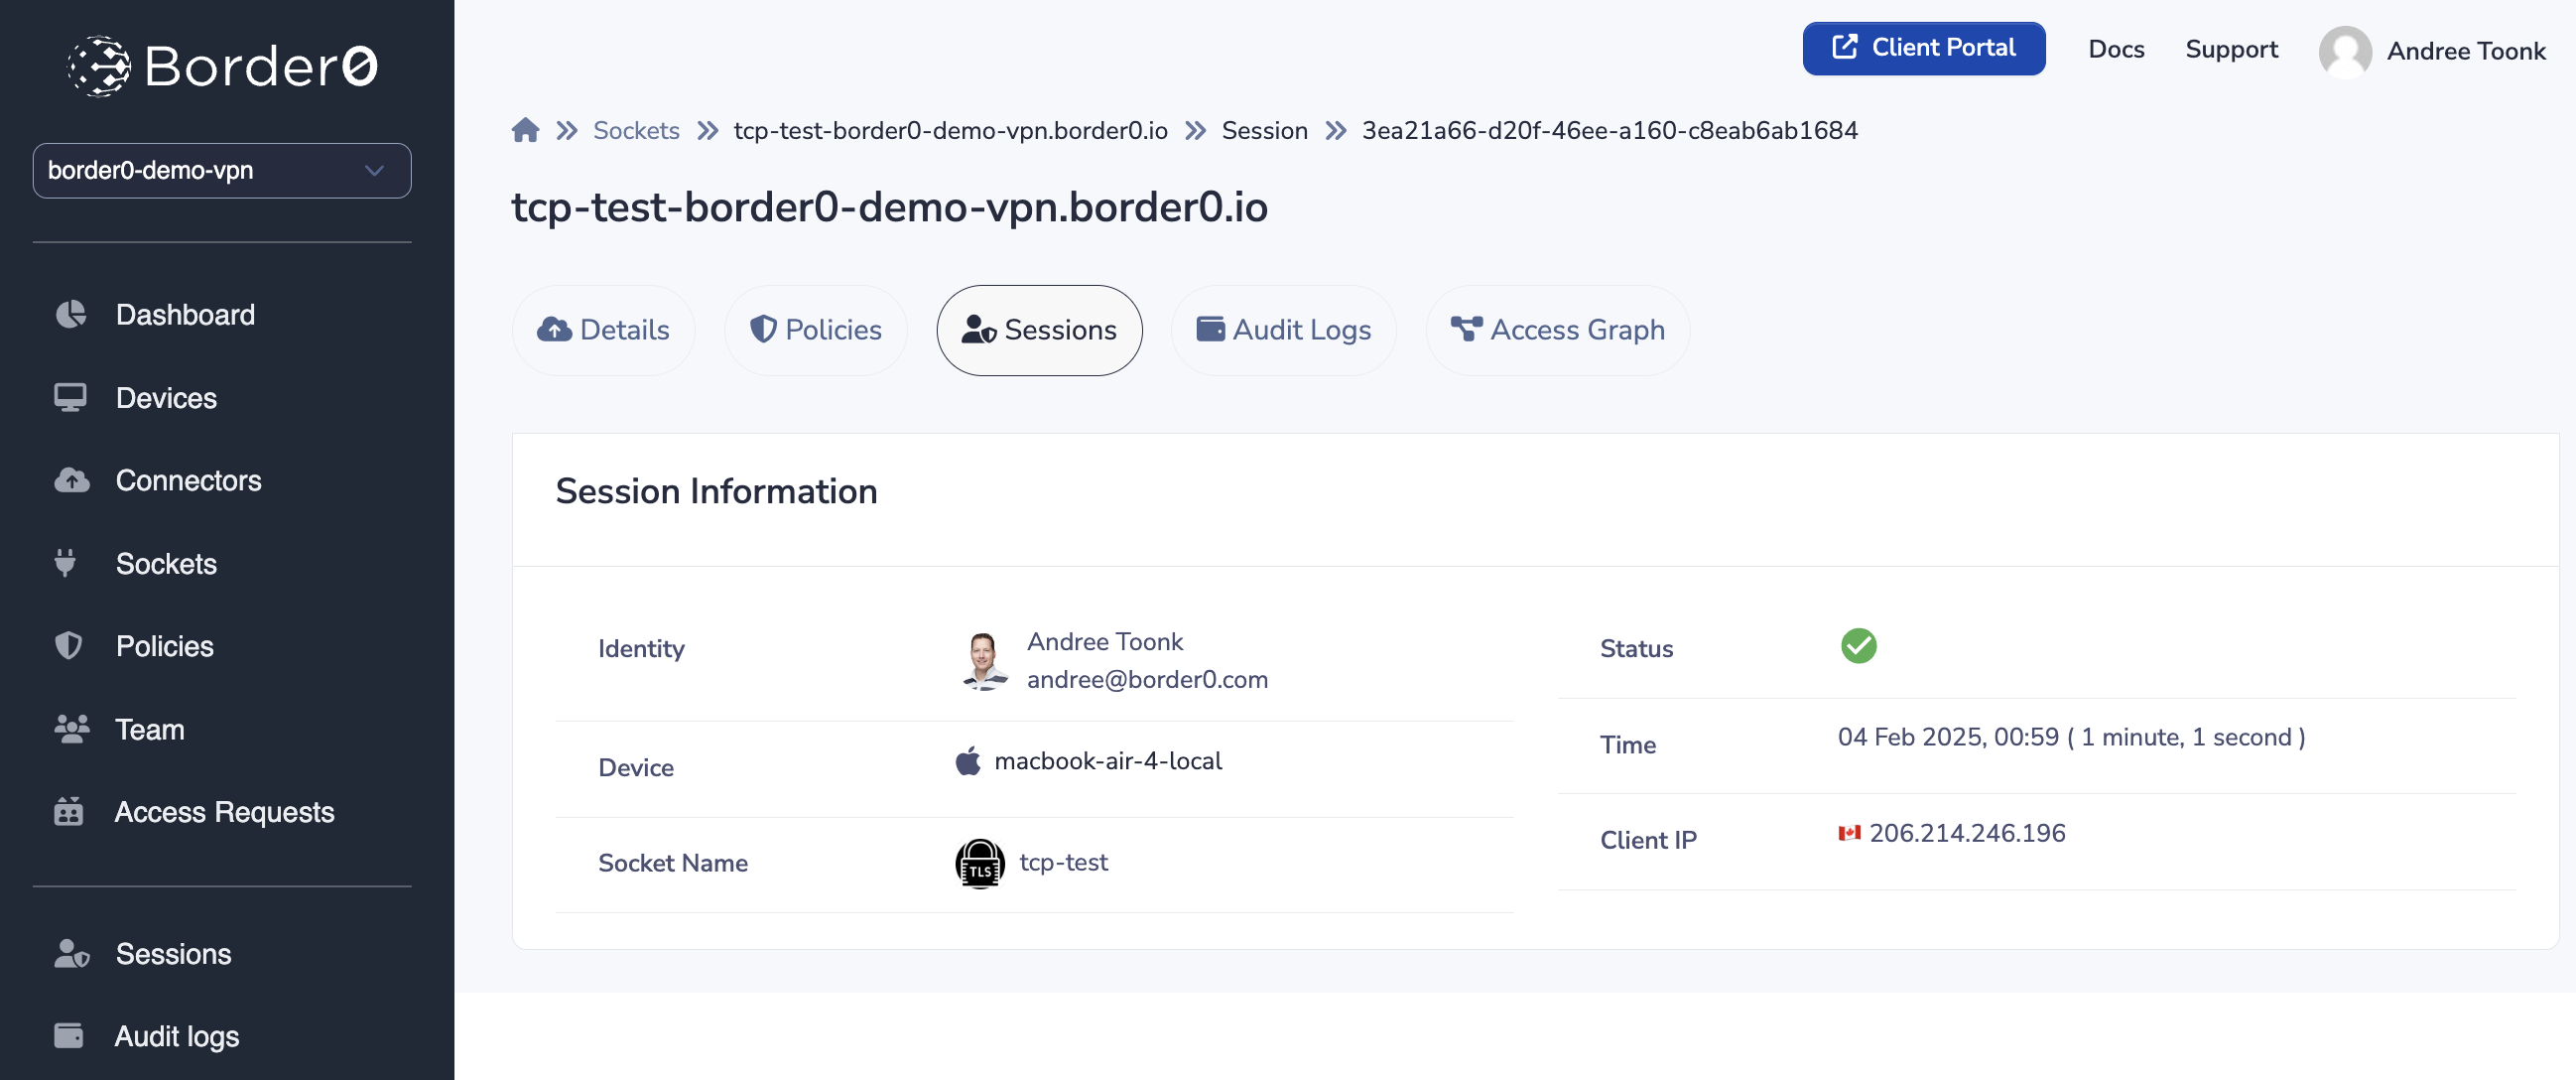
TCP session log
Troubleshooting and Validating
If you are having trouble connecting to the TCP service, make sure to:
- Verify Permissions: Validate that the client is mentioned in the the policy and has been granted the
tlspermission - Check Policy Linking: Ensure that the policy containing the
tlspermission is linked to the TCP service socket. For example by checking the access graph. - Client Connection: Confirm the client is connected to the Border0 VPN.
- Upstream Service Availability: Ensure that the TCP service itself is running and accessible from the connector. You can use tools like
telnetorncfrom the connector to test connectivity to the upstream service. For example:telnet <hostname> <port>ornc -zv <hostname> <port>. Typically when there are upstream issues the connector will log these as well. - Firewall Rules: Check firewall rules on the client machine, the connector, and the server hosting the TCP service that might be blocking traffic.
- Connector Configuration: Double-check the configuration of your connector. Ensure that it has network access to the server hosting the TCP service.
- border0 Client Logs: Examine the logs of the border0 client on the client machine for any error messages.
- Contact Support: If you're still unable to resolve the issue, contact border0 support for assistance.
Updated about 1 year ago