Linux - Client Install Guide
Install the Border0 Client on Linux in Minutes
Follow these simple steps to get started with Border0 on Linux.
1. Install the Border0 CLI (Headless Client)
The CLI-only installation is lightweight and ideal for headless servers, automation, and advanced users.
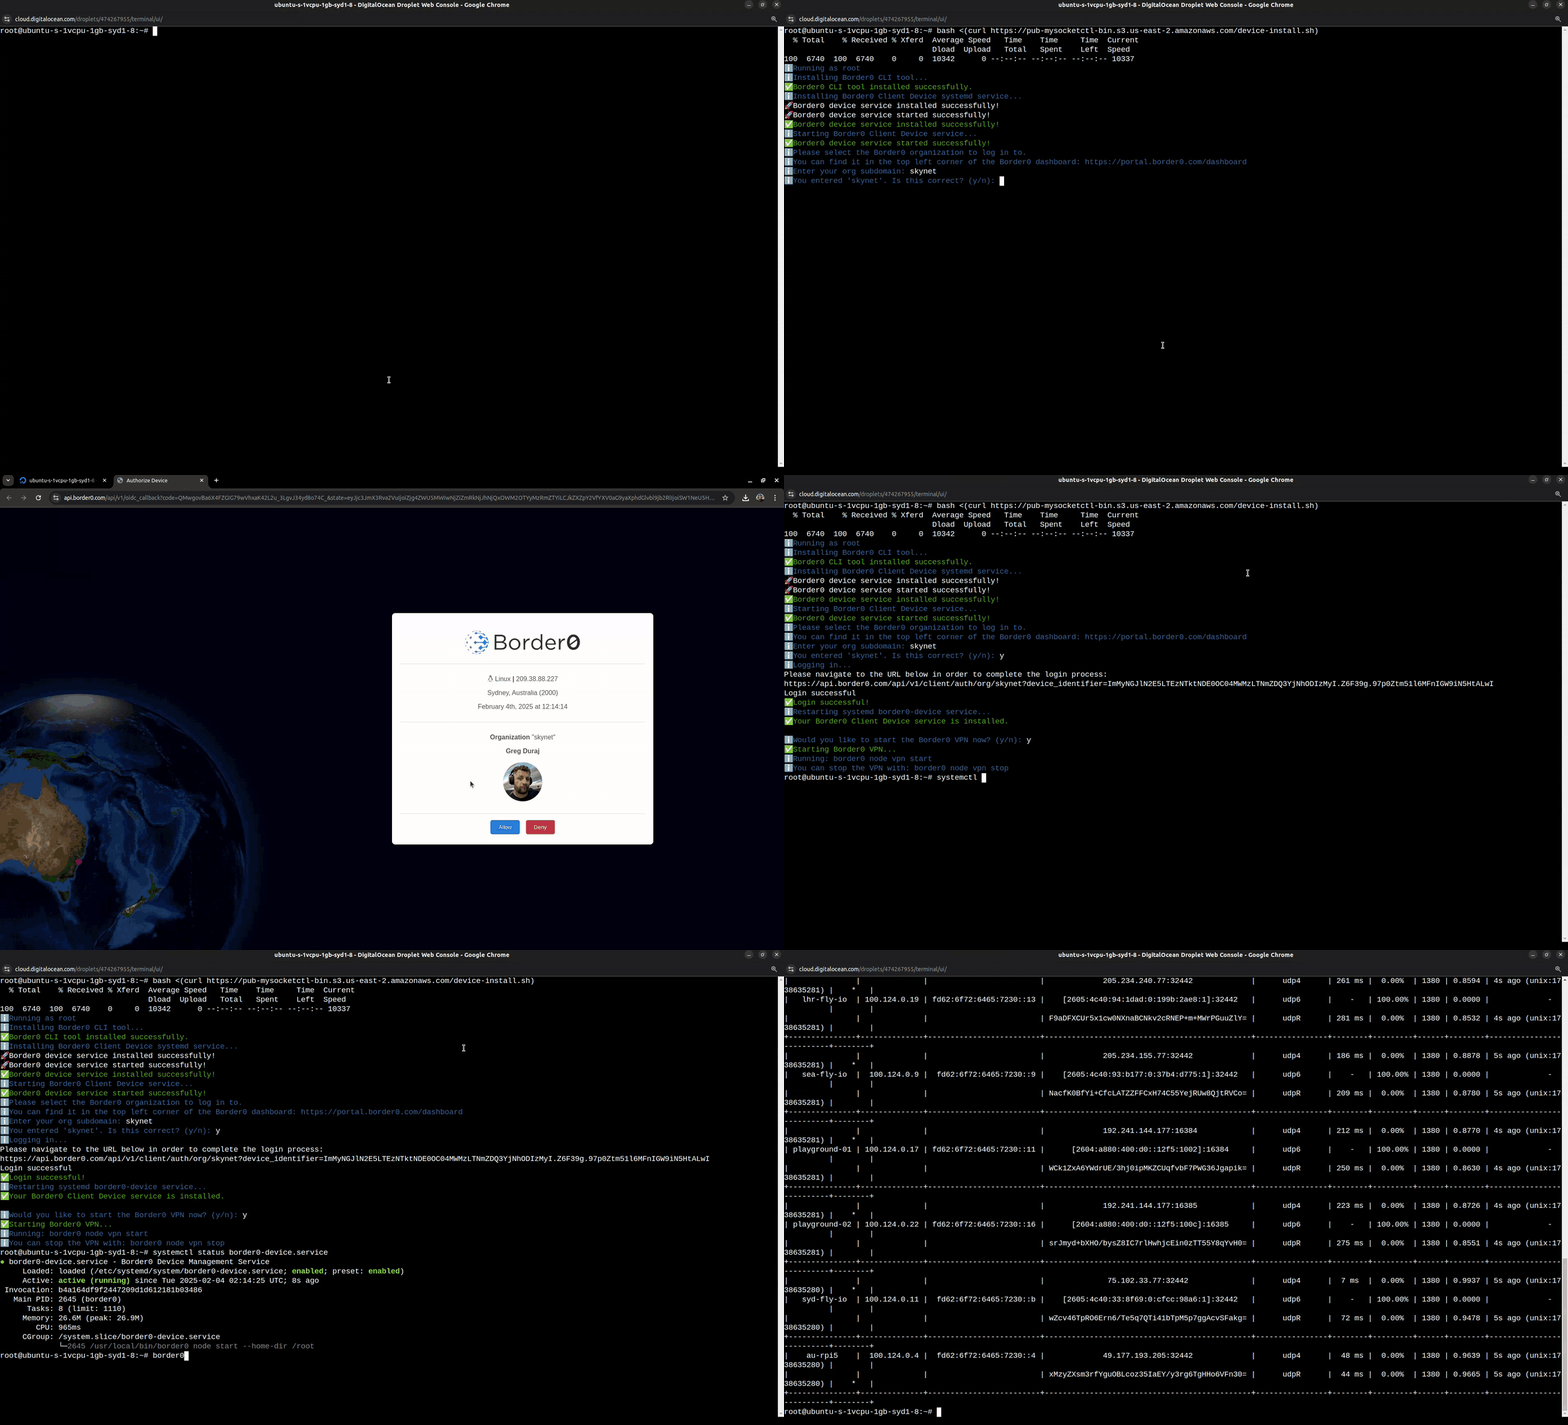
To install the Border0 VPN client service, run the following command in your terminal:
bash <(curl https://download.border0.com/device-install.sh)💡 This script will download the Border0 cli and install the Border0 VPN client service as a systemd service.

2. Start & Stop the VPN Service
Once installed, use the following commands to manage the VPN connection:
Start the VPN
border0 node vpn startStop the VPN
border0 node vpn stop3. (Optional) Install the Border0 GUI Client
For a graphical VPN management interface, install the Border0 Desktop Client. Important: You must first install the client service as documented in Step 1.
Download the GUI Client for Your Architecture
Border0 currently provides an x86_64(amd64) and arm64 version for Linux. More architectures are planned for the future.
🔹 Download for Linux (Intel x86_64)
Download and Unpack the Binaries
Make the downloaded file executable
curl https://download.border0.com/desktop/linux_amd64/border0.tar.gz -o border0-desktop.tar.gz
tar xzvf border0-desktop.tar.gz
Set permissions and Launch The GUI Client
Make the install script file executable
chmod +x border0_install.shInstall the Border0 Desktop Client
sudo ./border0_install.sh4. Enable the VPN & Connect
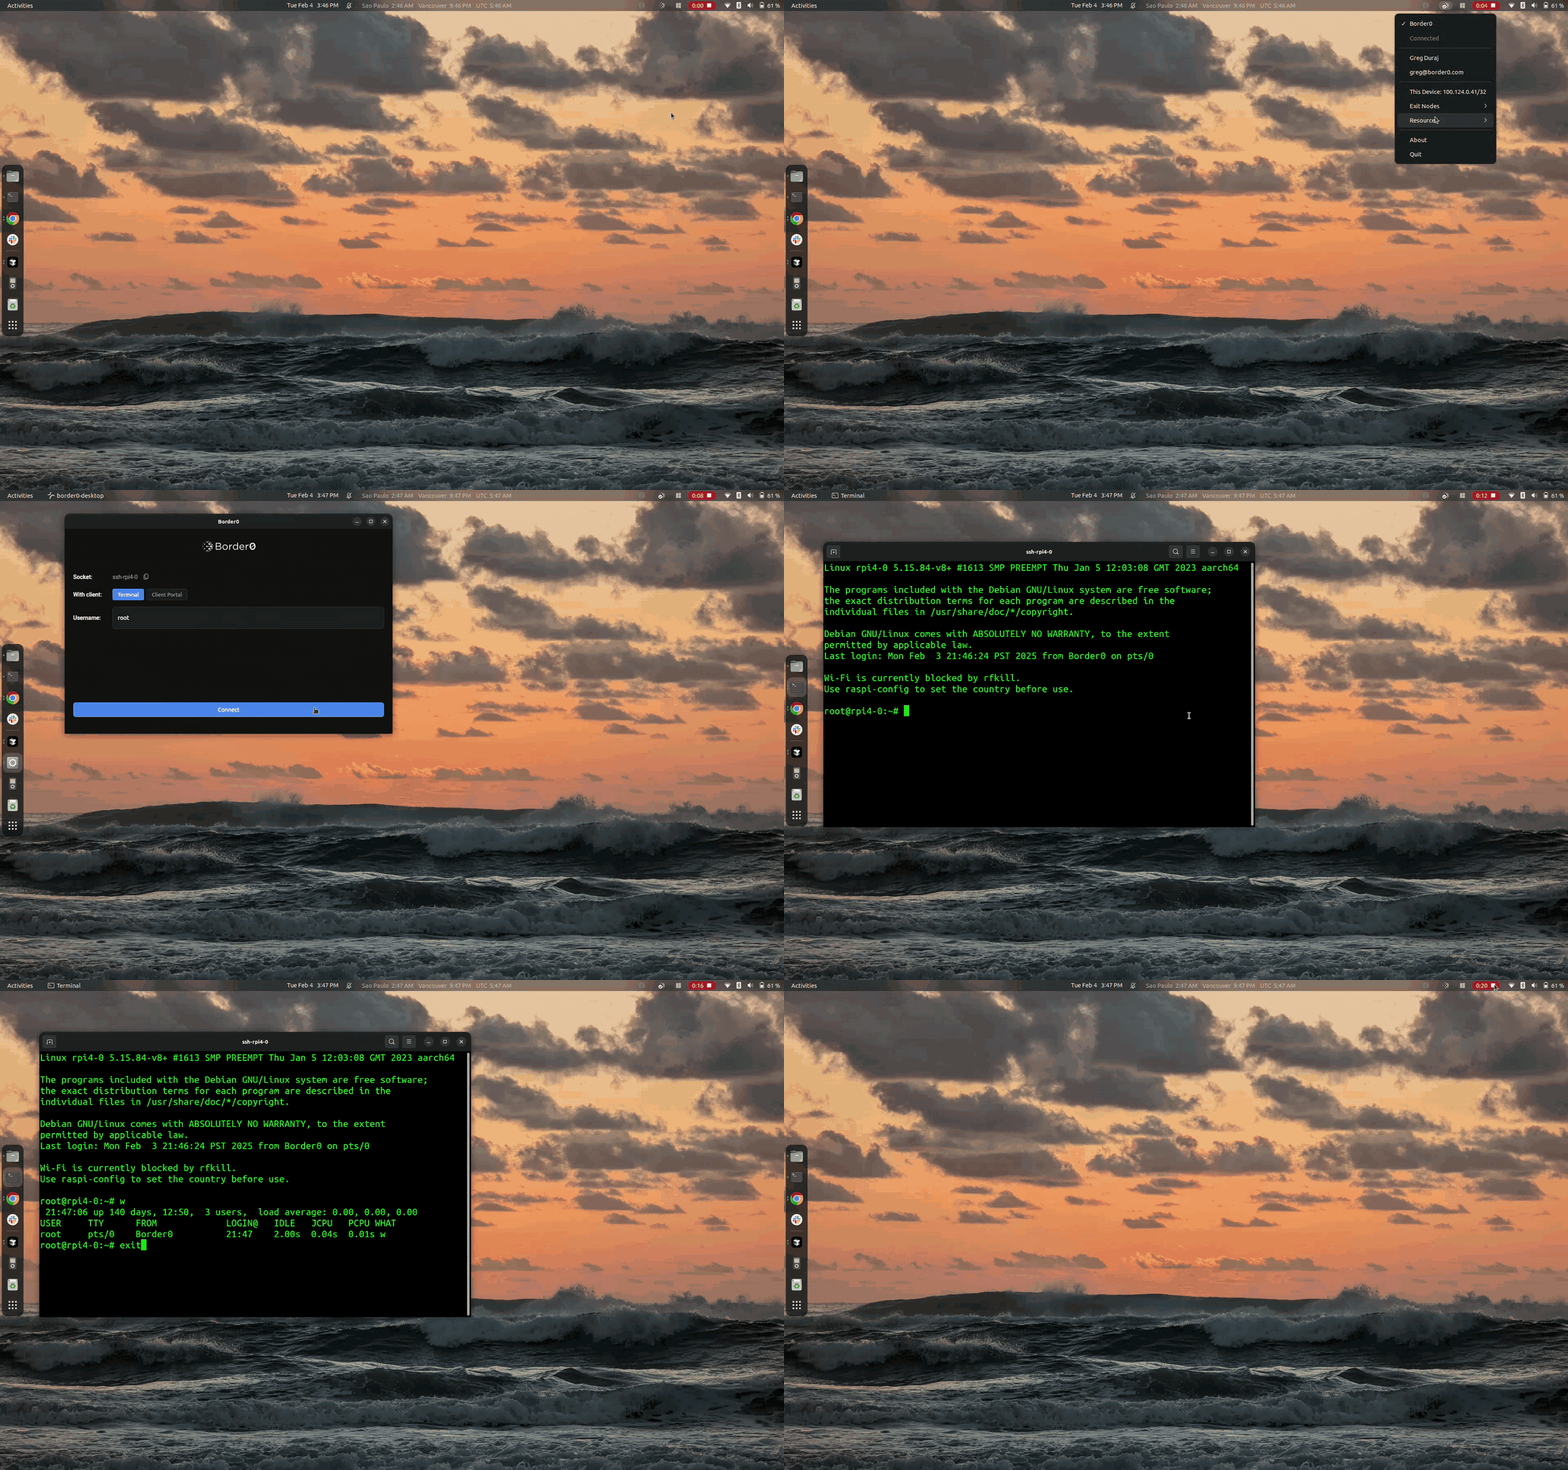
Launch the Border0 GUI Desktop Client. You should already be signed in using your SSO identity (completed in Step 1).
Toggle the VPN switch to connect
Once connected, you’ll see:
✅ Your active VPN session
✅ Your assigned IP address
✅ Available exit nodes & resources

5. Uninstalling the VPN Client
To completely remove the Border0 VPN client service from your system, including stopping the VPN and removing the systemd service, run:
sudo border0 node uninstallThis command:
- Stops the running VPN service
- Removes the associated systemd resource
You can safely run this command anytime you wish to remove the Border0 VPN client from your system.
If you'd also like to remove the CLI tool itself, you can manually delete it with:
sudo rm $(which border0)This will fully remove the Border0 client from your system.
Updated 7 months ago
