
Users and Groups
Using Users
As noted in the Managing Access in Border0 page, Users can behave as administrators (capable of managing a Border0 organization), clients (capable of connecting to Border0 sockets as clients), or both.
Users can be managed under the Team tab in the Border0 admin portal (i.e. https://portal.border0.com).
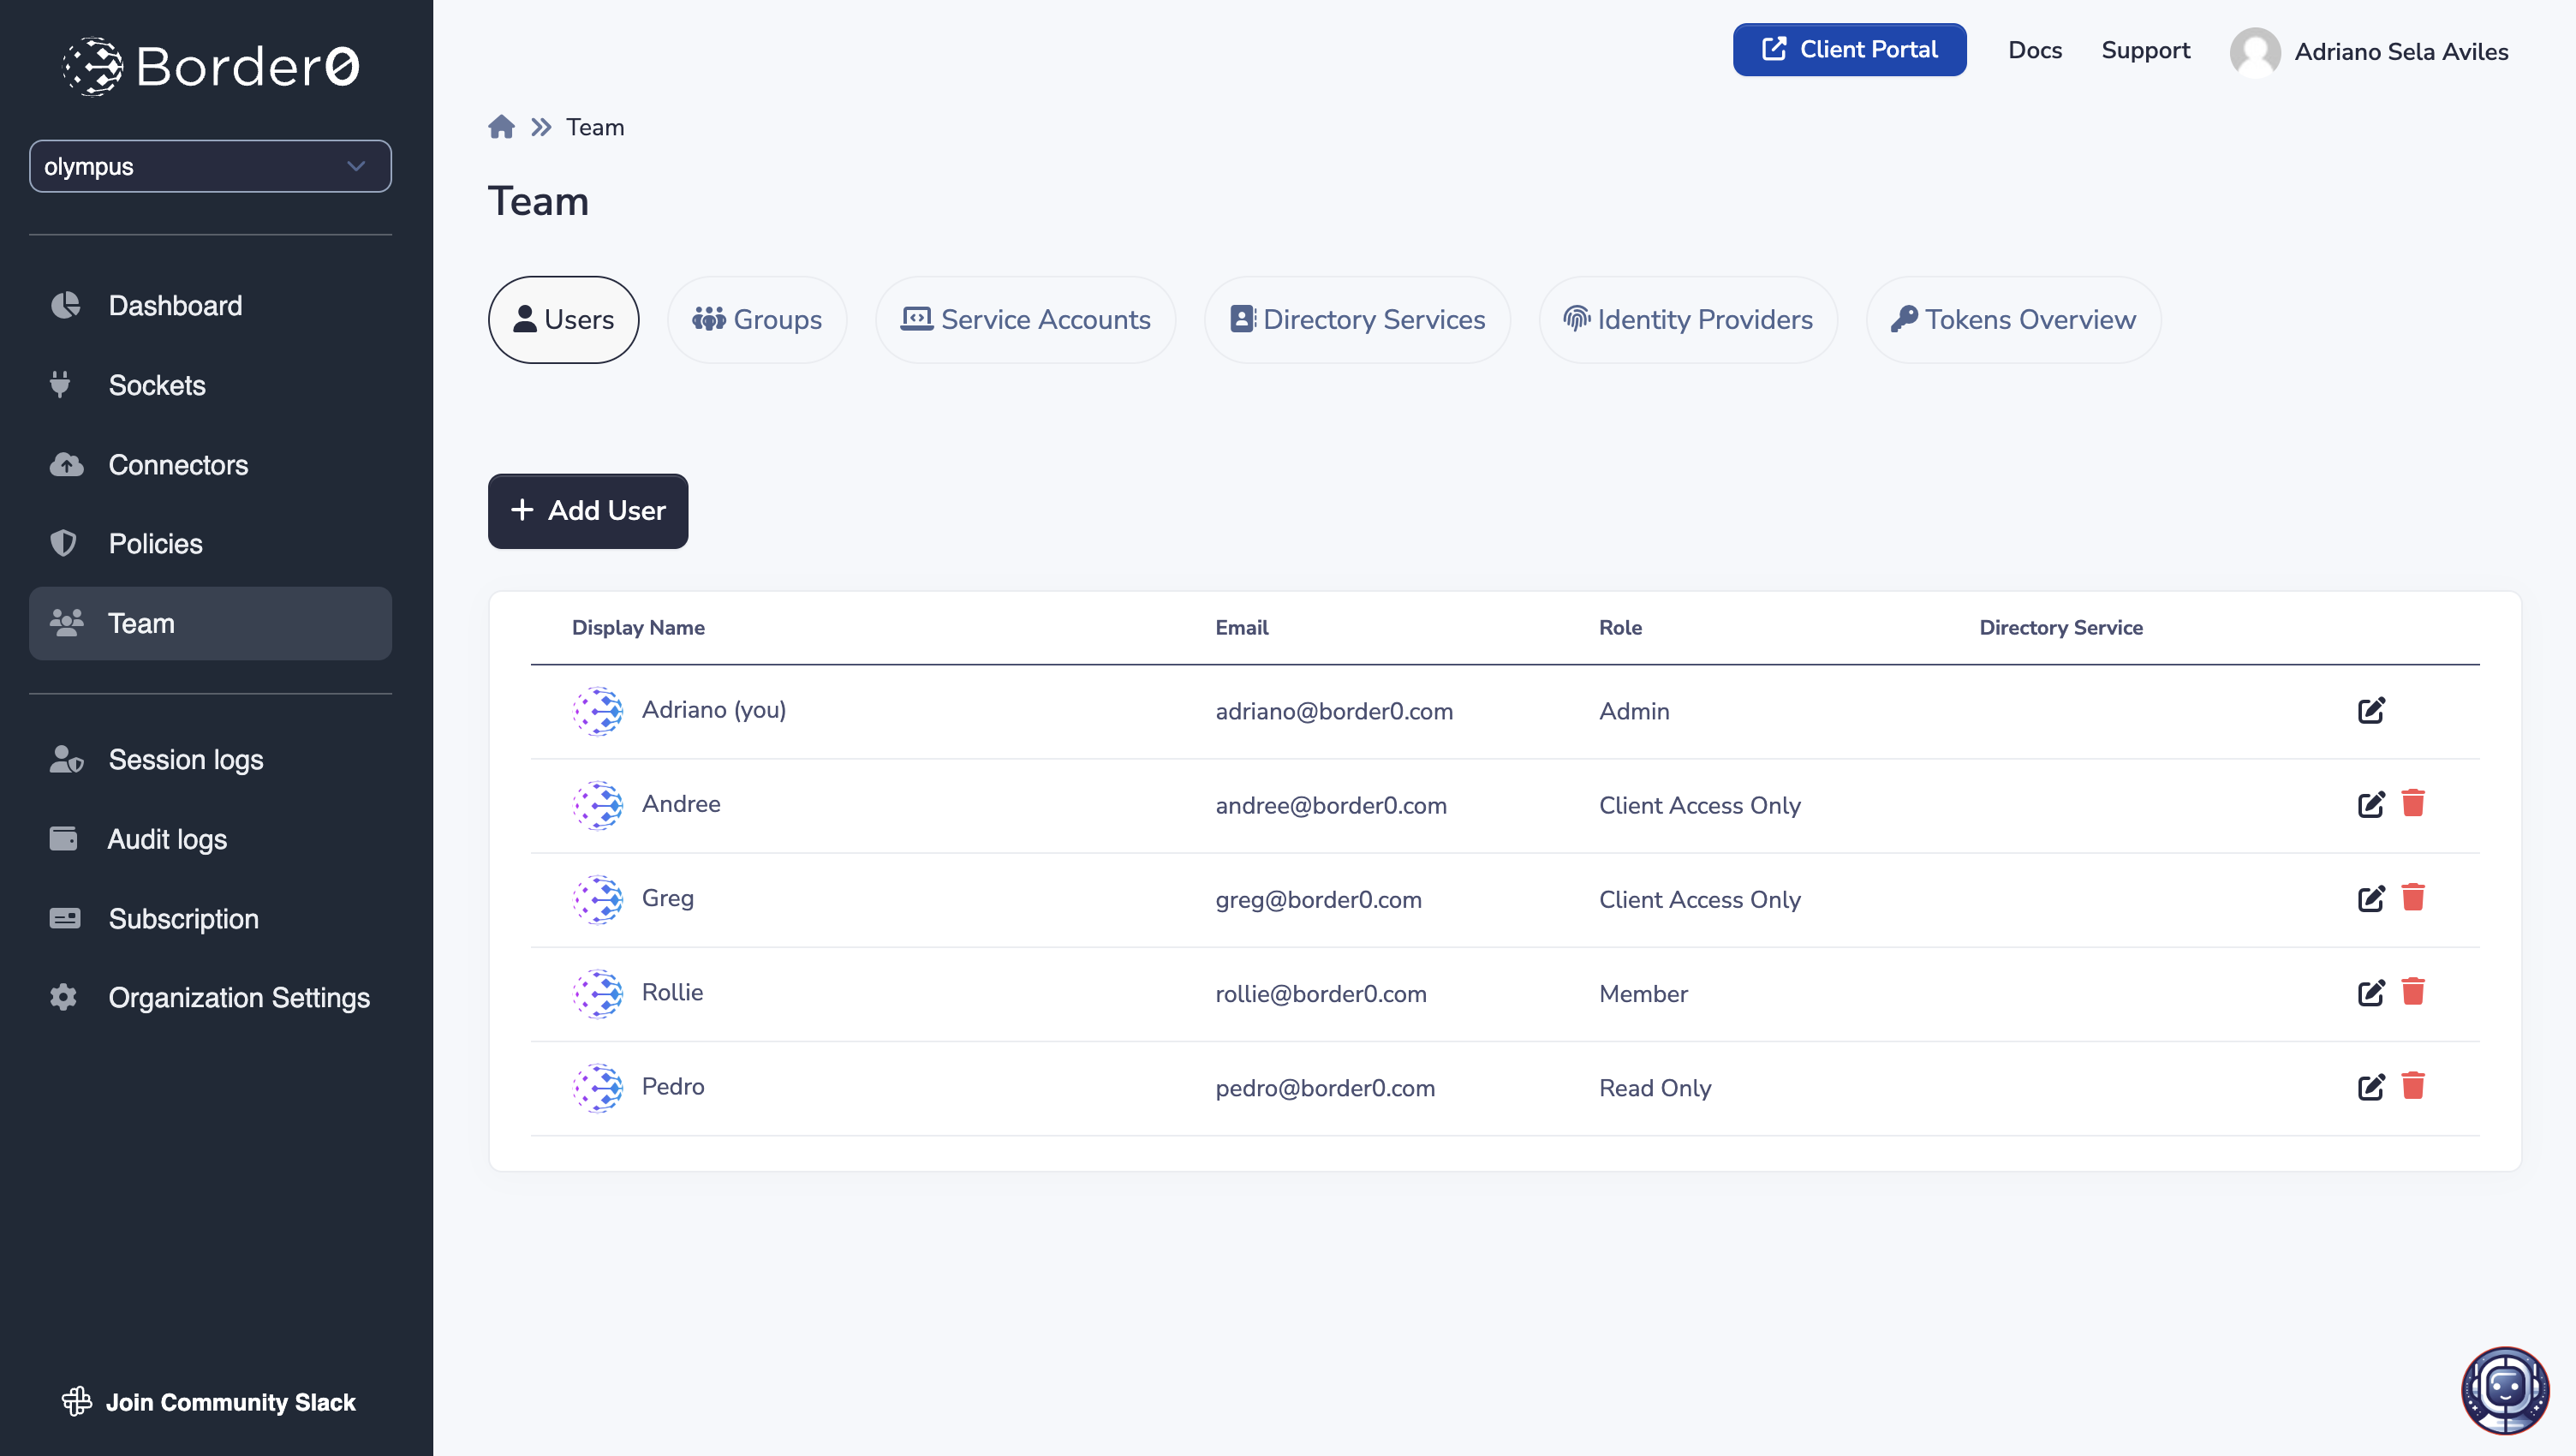
Users page overview
To add a user simply click on the "+ Add User" button in the Users page, and provide:
- an email address: the email address the user will need to authenticate as to perform actions
- a display name: a friendly name to distinguish the user among other users
- a role: the privilege level this user should have in your Border0 organization (read more about roles in the Role Based Access Control (RBAC) page). Keep in mind that if you intend for this user to be used as a socket client only, you should use the Client Access Only role.
NoteEvery added user will receive an email notification letting them know that they have been added to the organization.
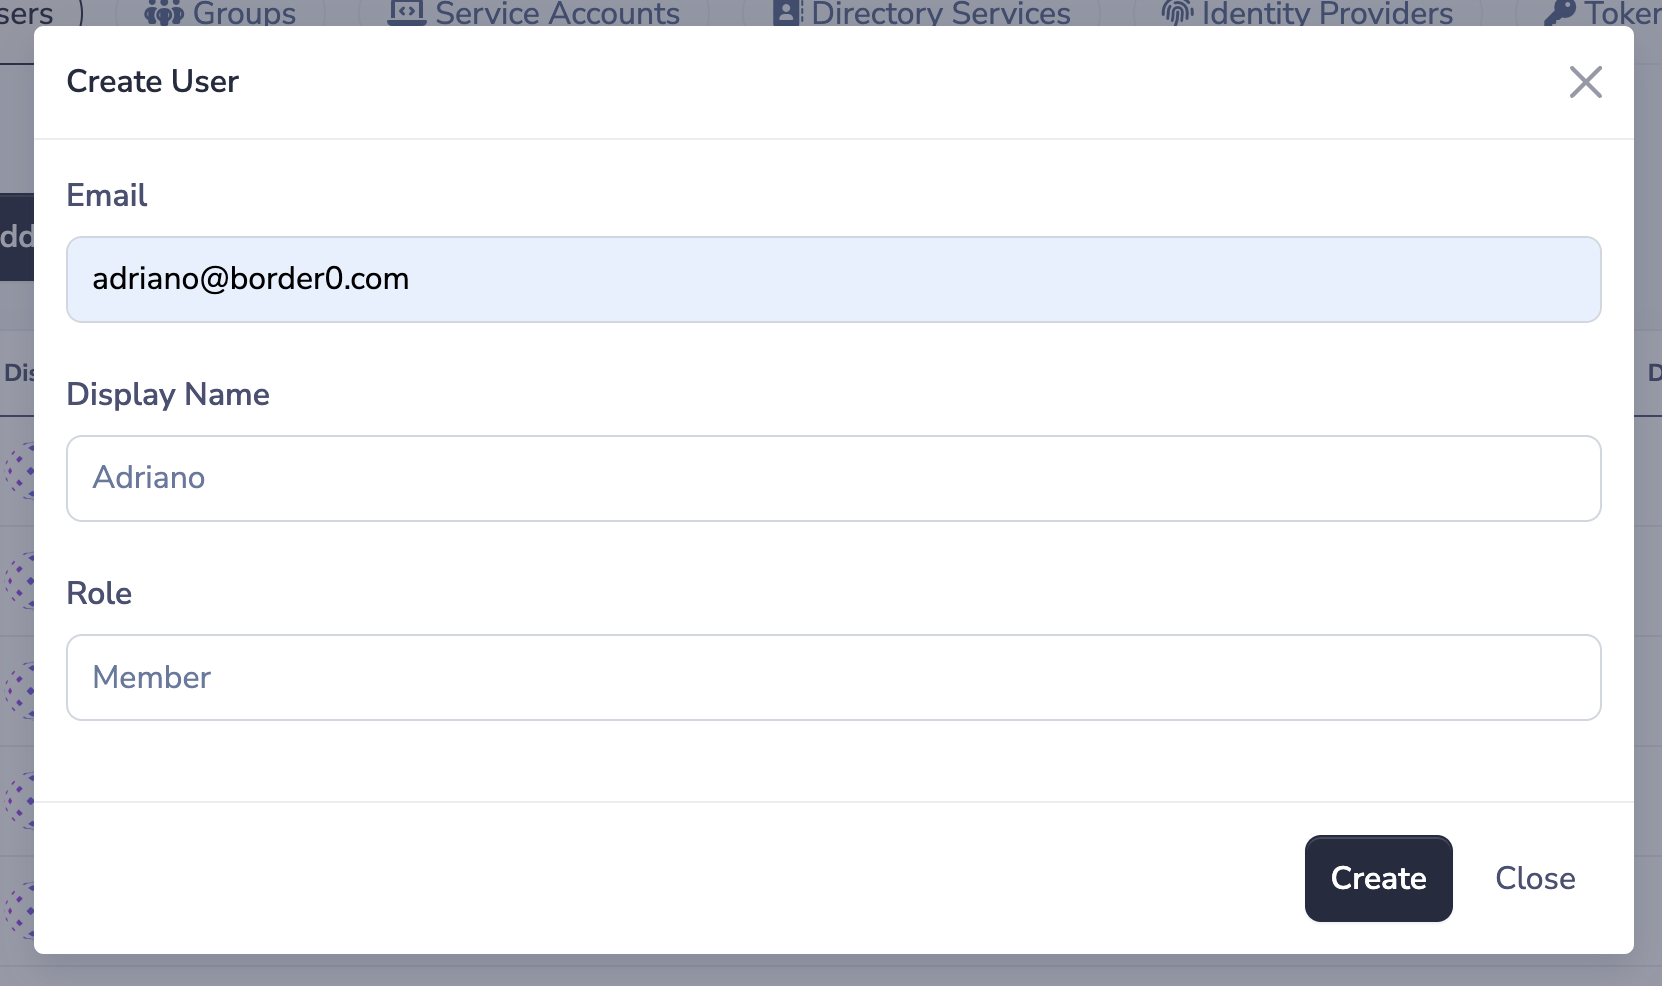
New user form
If you intend for a user to be a client, giving them the Client Access Only role is not sufficient. By default, clients will have access to none of the sockets in your organization. To grant access to /assign a client to a specific set of sockets, you must also reference the user (or group) in Policies attached to those sockets.
Using Groups
Groups come in handy when your company/organization has clear definitions of which users should have access to what. In most cases, groups should be treated as analogous to teams in an engineering organization. For example if your company has several engineering teams, a typical Border0 set-up would be to define a group for each team and assign each group to the policies of the sockets which are relevant to that team's operations.
Groups, like Users, can be managed under the Team tab in the Border0 admin portal (i.e. https://portal.border0.com)
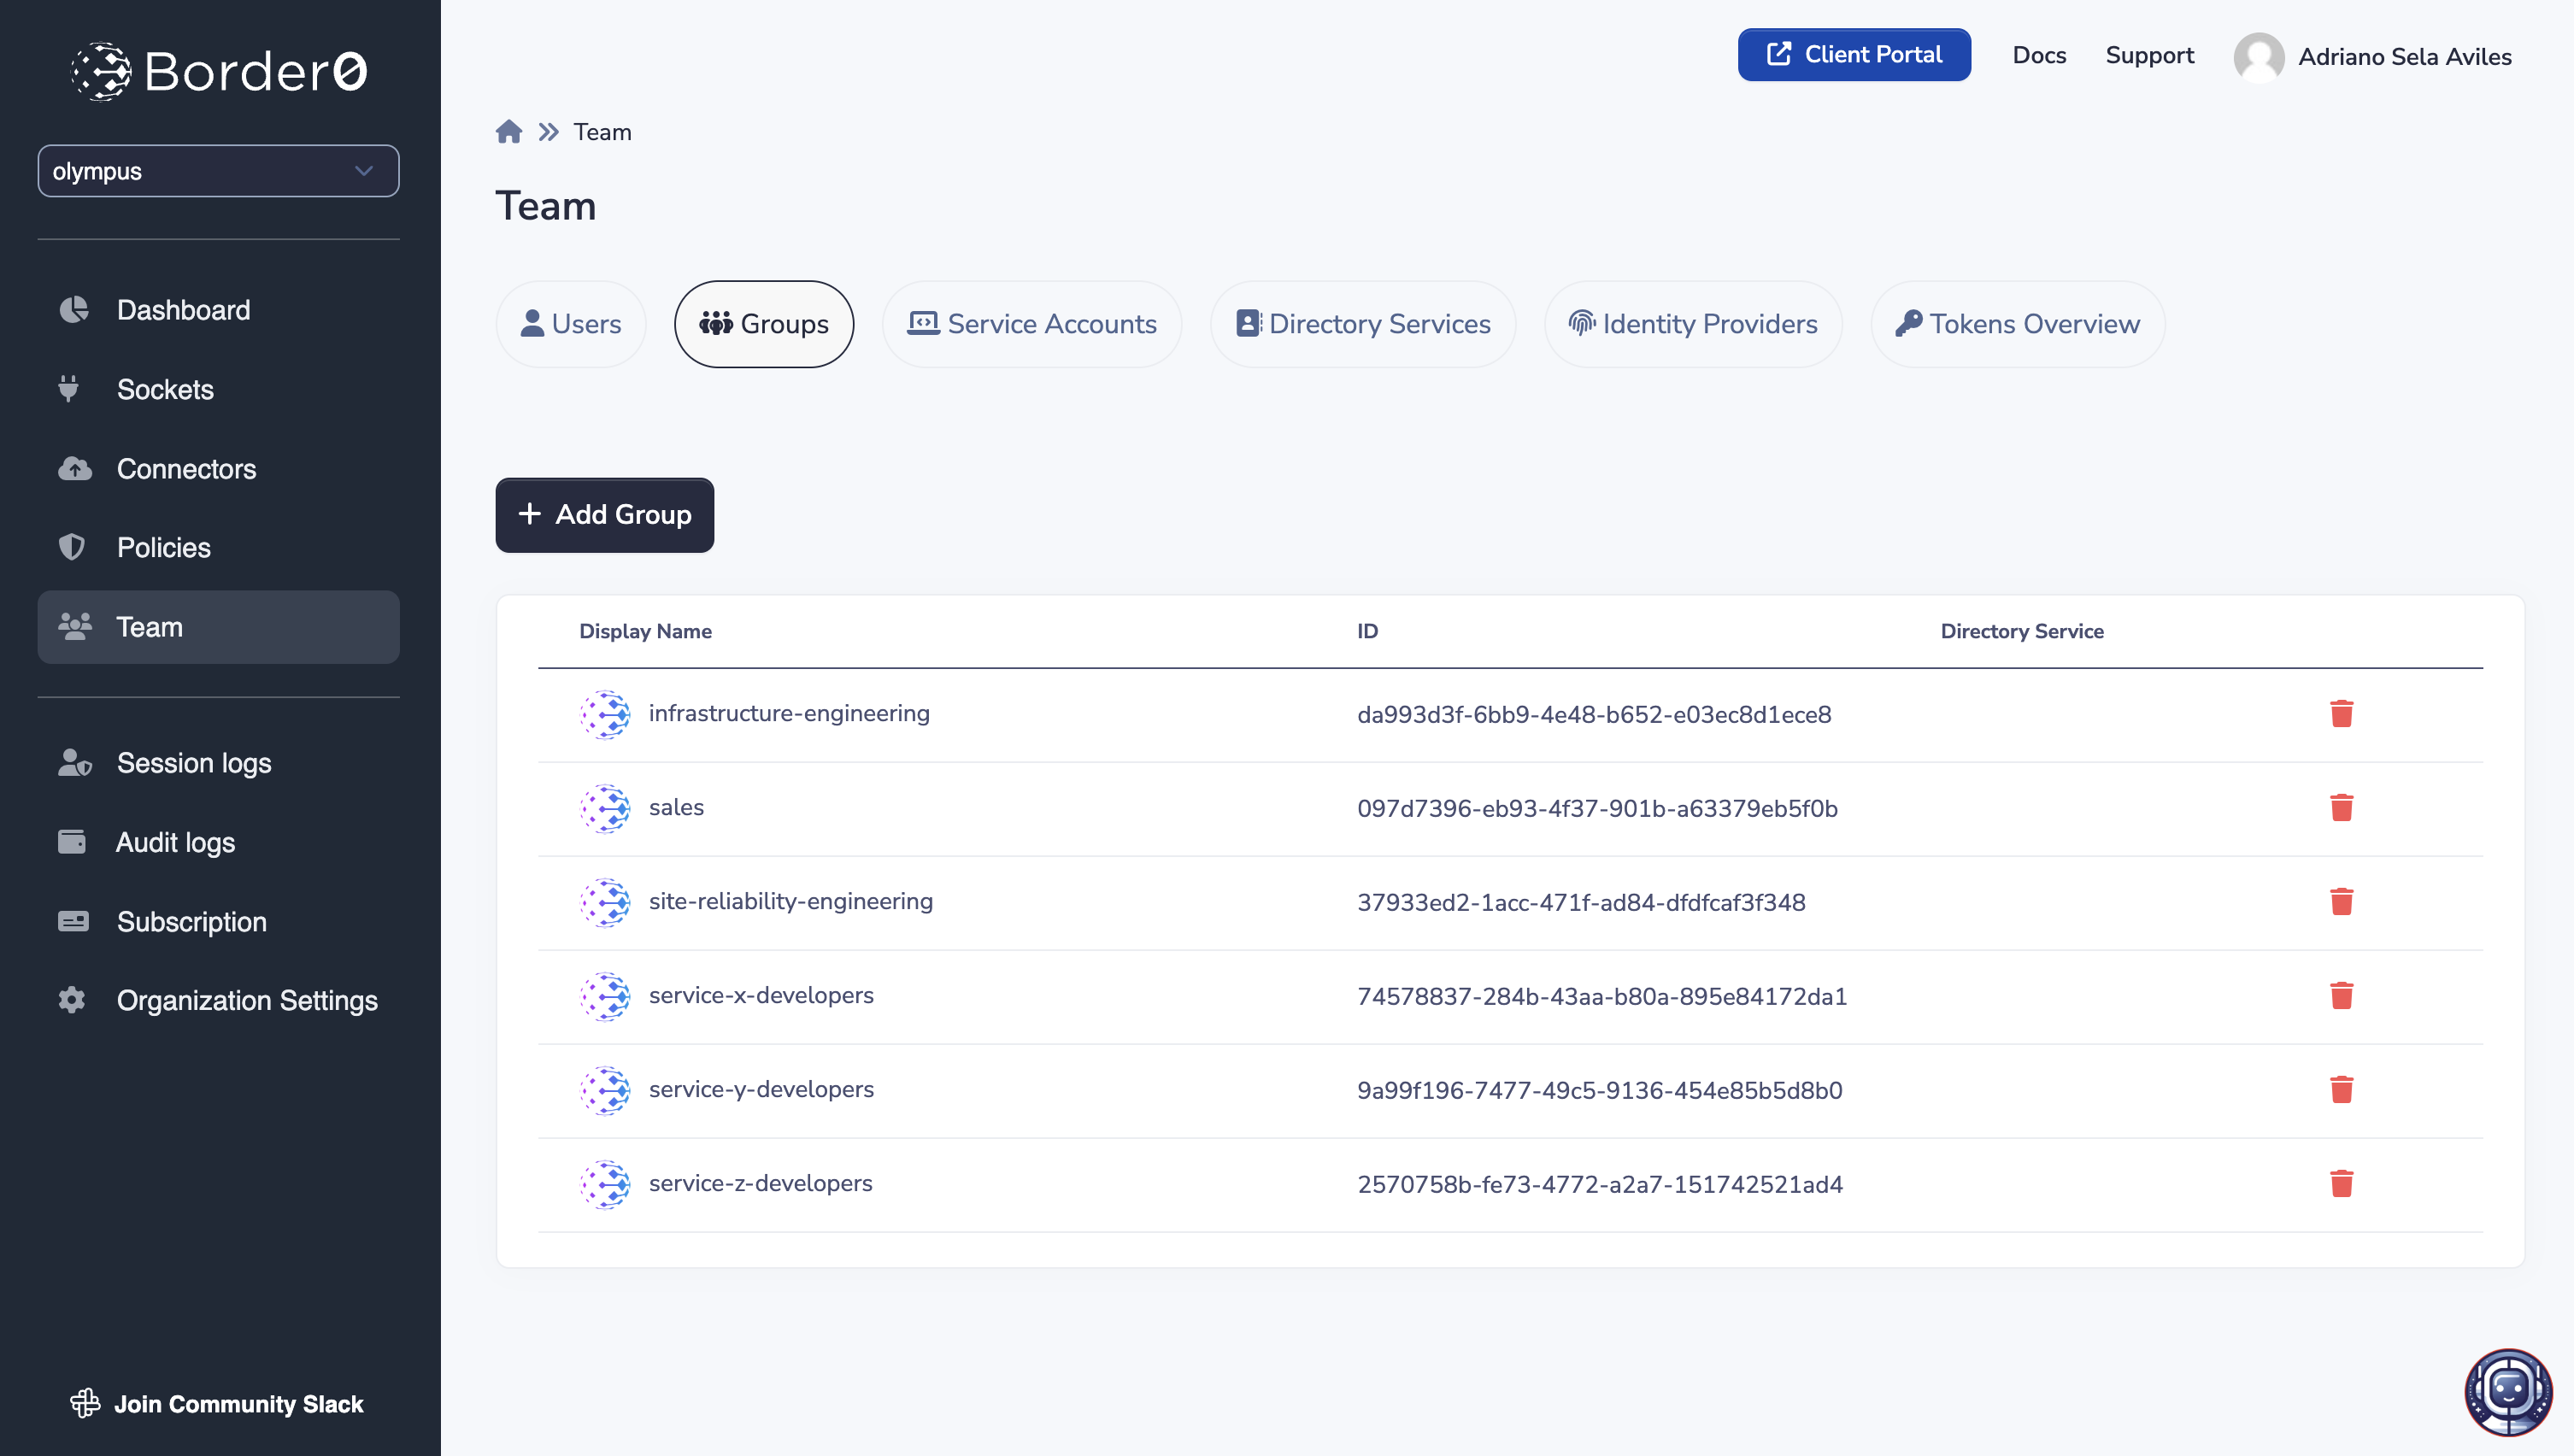
Groups page overview
To add a group simply click on the "+ Add Group" button in the Groups page, and provide a display name (a friendly name to distinguish the group among other groups).
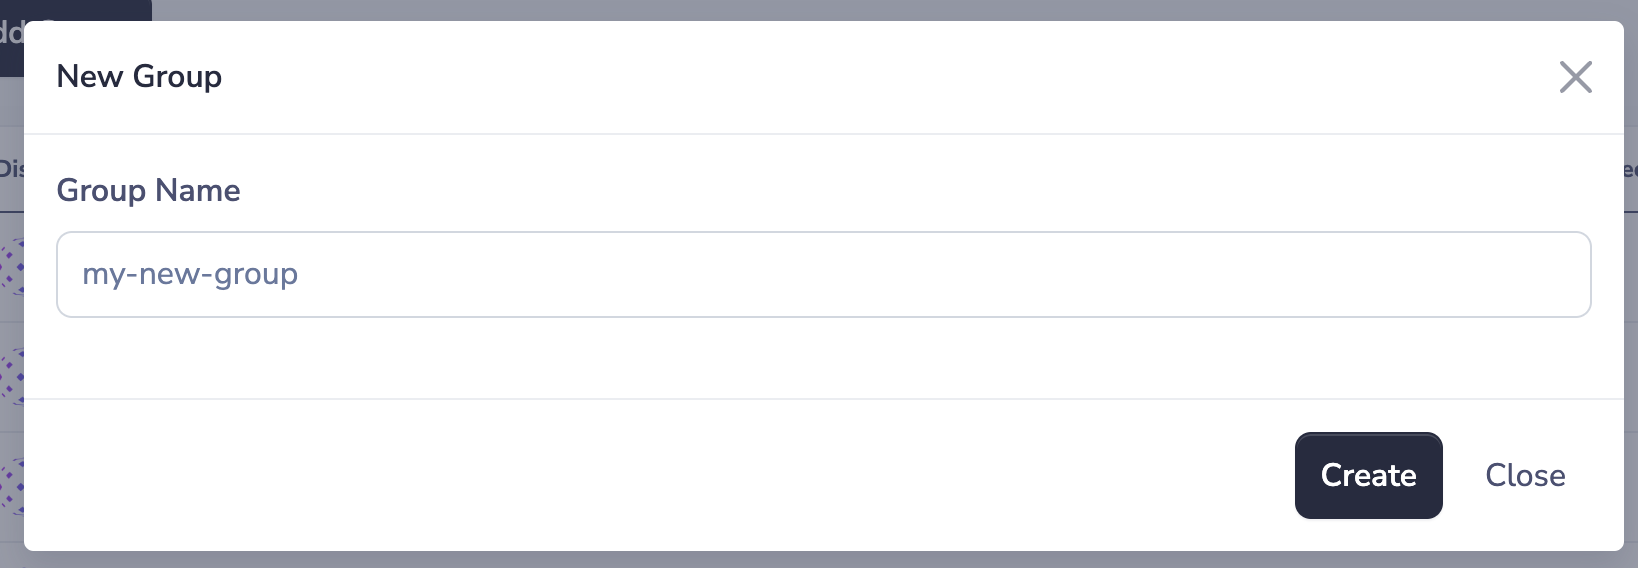
New group form
To grant access to / assign members of a group to a specific set of sockets, you must also reference the group in Policies attached to those sockets.
Updated 21 days ago