
MacOS - Client Install Guide
Install the Border0 Client on macOS in Minutes
Follow these simple steps to get started on macOS.
1. Download the Border0 Client for macOS
👉 Download Border0 for macOS here
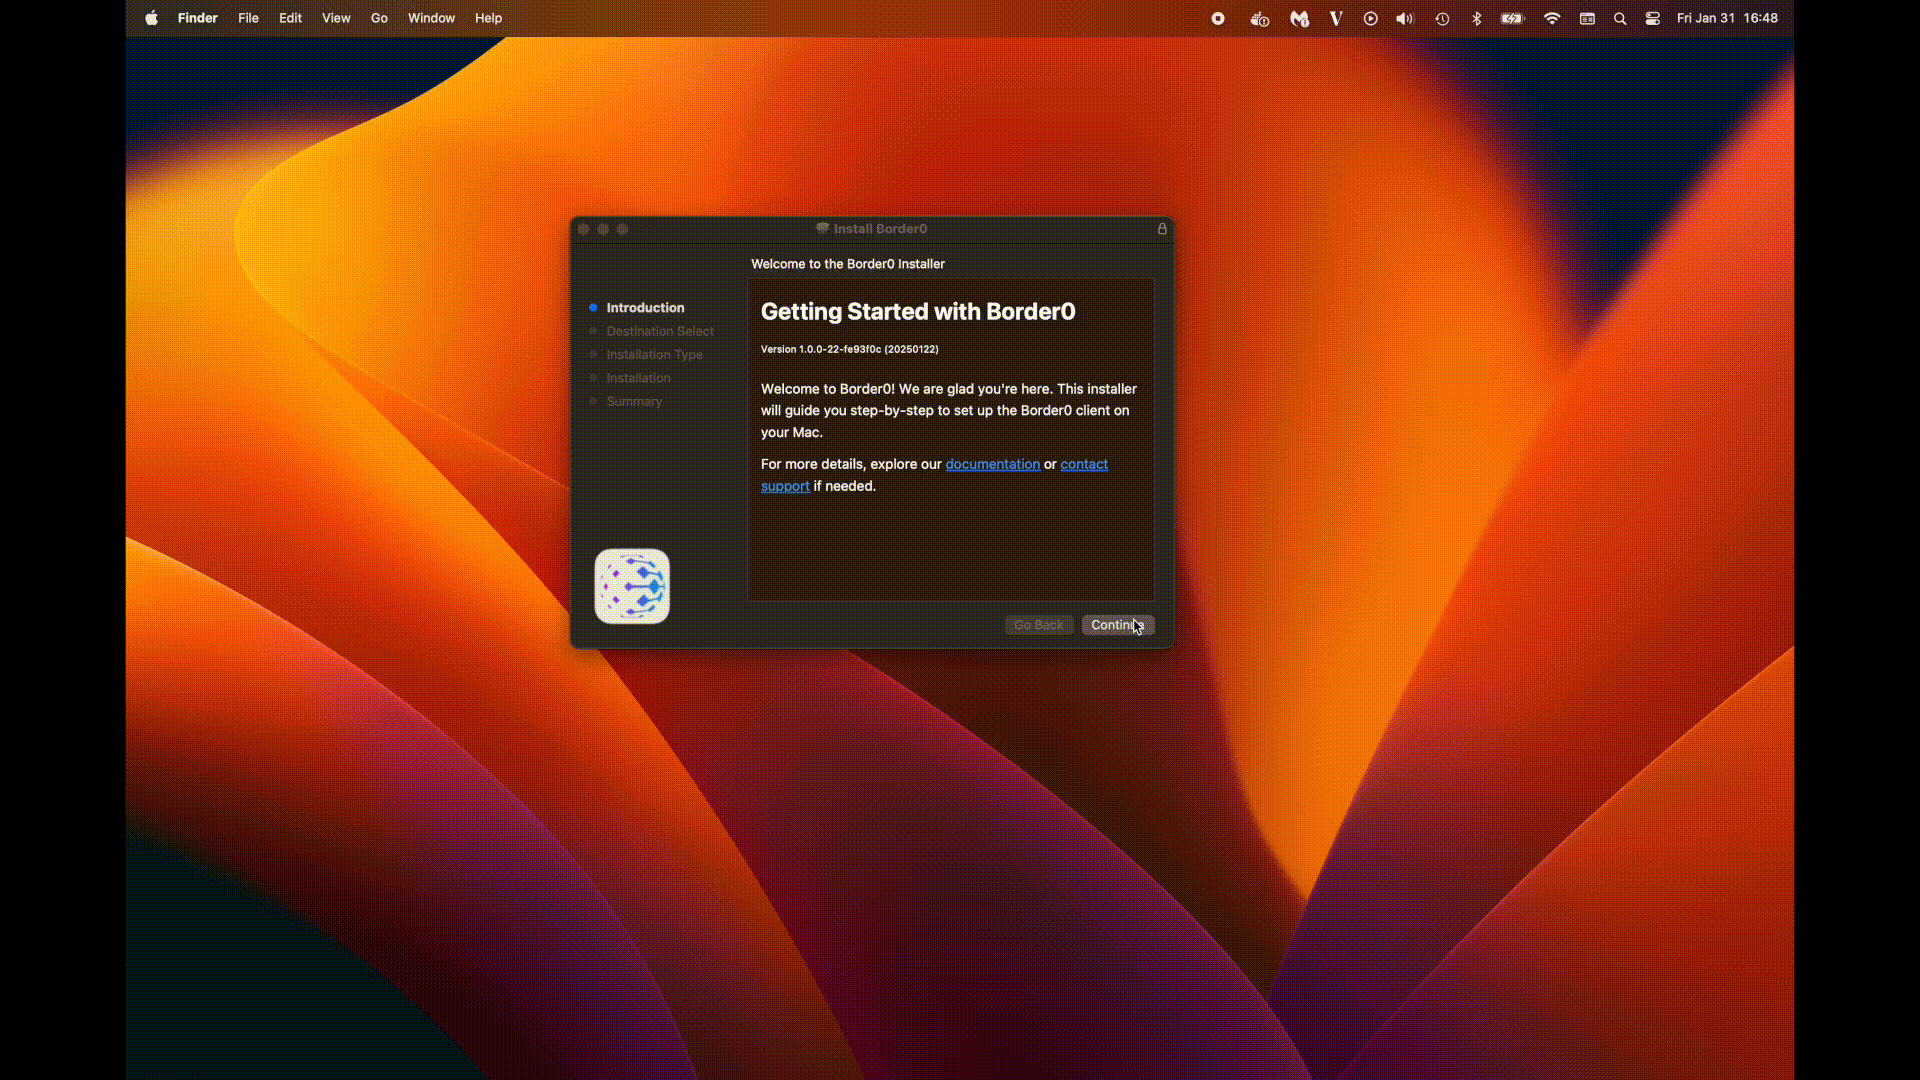
2. Install the Border0 Client
- Open the .pkg installer from your Downloads folder.
- Follow the on-screen instructions to complete the installation.

3. Sign In & Connect
Once installed, the application will appear in the system tray menu and automatically open and ask the user to log in to their Border0 organization.
- When prompted, provide the correct organization name (you can find it in the top left of the admin portal)
- Sign in using your company SSO account, your Google, GitHub, or select your email to be sent a login code.
- Toggle the VPN switch to connect.
- Once connected, you’ll see:
- Your active VPN session
- Your assigned IP address
- Available exit nodes & resources
4. MDM deployments
Organizations can deploy Border0 for macOS using Mobile Device Management (MDM) solutions like Kandji or Jamf. This allows you to automate the installation and configuration of Border0 across multiple devices, ensuring a seamless and consistent setup for all users. Read about Border0's MDM deployment guide for Kandji.
5. Advanced - using the CLI to control the VPN client
Border0 VPN Client Components
The Border0 VPN client consists of two main components:
- Border0 Node Service – Runs as a system service, managing all VPN operations.
- Border0 GUI App – A system tray application that interacts with the Node Service over a Unix socket.
The Node Service is the core component handling VPN connections. On macOS, it runs as a system service managed by launchctl.
Managing the Border0 Node Service
On macOS, the Border0 Node Service is controlled by launchctl and is defined in:
/Library/LaunchDaemons/border0-device.plist
Ensuring the Node Service Starts Automatically
By default, macOS launch services ensure the Border0 service starts correctly.
Typically, the Border0 Node Service runs with this command:
/usr/local/bin/border0 node start --home-dir /Users/johndoe --wait-for-authTo check if the service is running, use:
$ sudo launchctl list | grep border0-device
39266	0	border0-device
To stop the service, run:
sudo launchctl unload /Library/LaunchDaemons/border0-device.plistTo start the service again, run:
sudo launchctl load /Library/LaunchDaemons/border0-device.plistEnsuring the Border0 Service is Running Correctly
If the Border0 Node Service is running and connected to the Border0 API, it will appear as "Online" in the Portal Devices Page.
Stopping & Starting the VPN Connection via CLI
Instead of using the system tray app, users can also control the VPN directly via CLI.
Stopping the VPN Connection, this will make the device register itself as "Online - VPN off". With this all WireGuard tunnels will be down.
border0 node vpn stopto start the VPN tunnel again use, this will make the device register itself as "Online - VPN on". With this the node service will bring all WireGuard tunnels up.
border0 node vpn startThis allows users to quickly manage VPN connections from the command line without needing to interact with the GUI.