
Quick start
This is the right place if you're eager to get started! We'll install the Border0 connector and log in with SSH to our connector using our SSO credentials
Install the CLI binary (Command Line Interface)
Let's start with installing the Border0 CLI.
sudo curl https://download.border0.com/darwin_amd64/border0 \
    -o /usr/local/bin/border0 \
   && sudo chmod +x /usr/local/bin/border0
cd ~/Desktop
curl https://download.border0.com/windows_amd64/border0.exe -o border0.exedocker run -ti --rm -v ~/.border0:/root/.border0:rw \
ghcr.io/borderzero/border0 login
Please navigate to the URL below in order to complete the login process:
https://portal.border0.com/login?device_identifier=IjZiYmJjMTkwLTBkNDktNGNmYi05NzMyLWZhY2FjMDM5NDVjYiI.ZxIdzE.61HPzXmOuH7ezyLQlG3RuFAMQS0
docker run -ti --rm -v ~/.border0:/root/.border0:rw \
ghcr.io/borderzero/border0 socket ls
sudo apt-get update && sudo apt-get -y install gpg curl
sudo install -m 0755 -d /etc/apt/keyrings
curl -fsSL https://download.border0.com/deb/gpg | sudo gpg --dearmor -o /etc/apt/keyrings/border0.gpg
echo "deb [arch="$(dpkg --print-architecture)" signed-by=/etc/apt/keyrings/border0.gpg] https://download.border0.com/deb/ stable main" | sudo tee /etc/apt/sources.list.d/border0.list
sudo apt-get update
sudo apt-get install border0
dnf -y install gpg wget
rpm --import https://download.border0.com/rpm/RPM-GPG-KEY
wget -O /etc/yum.repos.d/border0.repo https://download.border0.com/rpm/border0.repo
dnf install border0sudo curl https://download.border0.com/linux_amd64/border0 \
-o /usr/local/bin/border0 \
&& sudo chmod +x /usr/local/bin/border0sudo curl https://download.border0.com/linux_arm64/border0 \
-o /usr/local/bin/border0 \
&& sudo chmod +x /usr/local/bin/border0sudo curl https://download.border0.com/linux_arm/border0 \
-o /usr/local/bin/border0 \
&& sudo chmod +x /usr/local/bin/border0Install the Connector service
Unless you used the Linux (deb) installer, we need to install the connector service.
sudo border0 connector installThis will ask you to log in to your Border0 account, and will create a connector in Border0. This will start the connector process as a system service on your OS, making sure it's always running.
$ sudo  border0 connector install
Please navigate to the URL below in order to complete the login process:
https://portal.border0.com/login?device_identifier=IjJmMGY4YmY4LTQ5ZjYtNGU4ZC04NDJhLTk3NWQ1YmY3OWVlNCI...
Login successful
🚀 Border0 connector "bofh" created successfully!
🚀 Border0 connector token "bofh-token" created successfully!

 Install Border0 Connector Service:					[  OK  ]
Starting Border0 Connector Service:					[  OK  ]
Web browser pop-upWe will attempt to open the login link for you, if that does not happen you just copy&paste it into your favourite browser to complete the login
Configure your connector
Now that you have installed your first connector, it should show up in the admin portal under the connectors page.
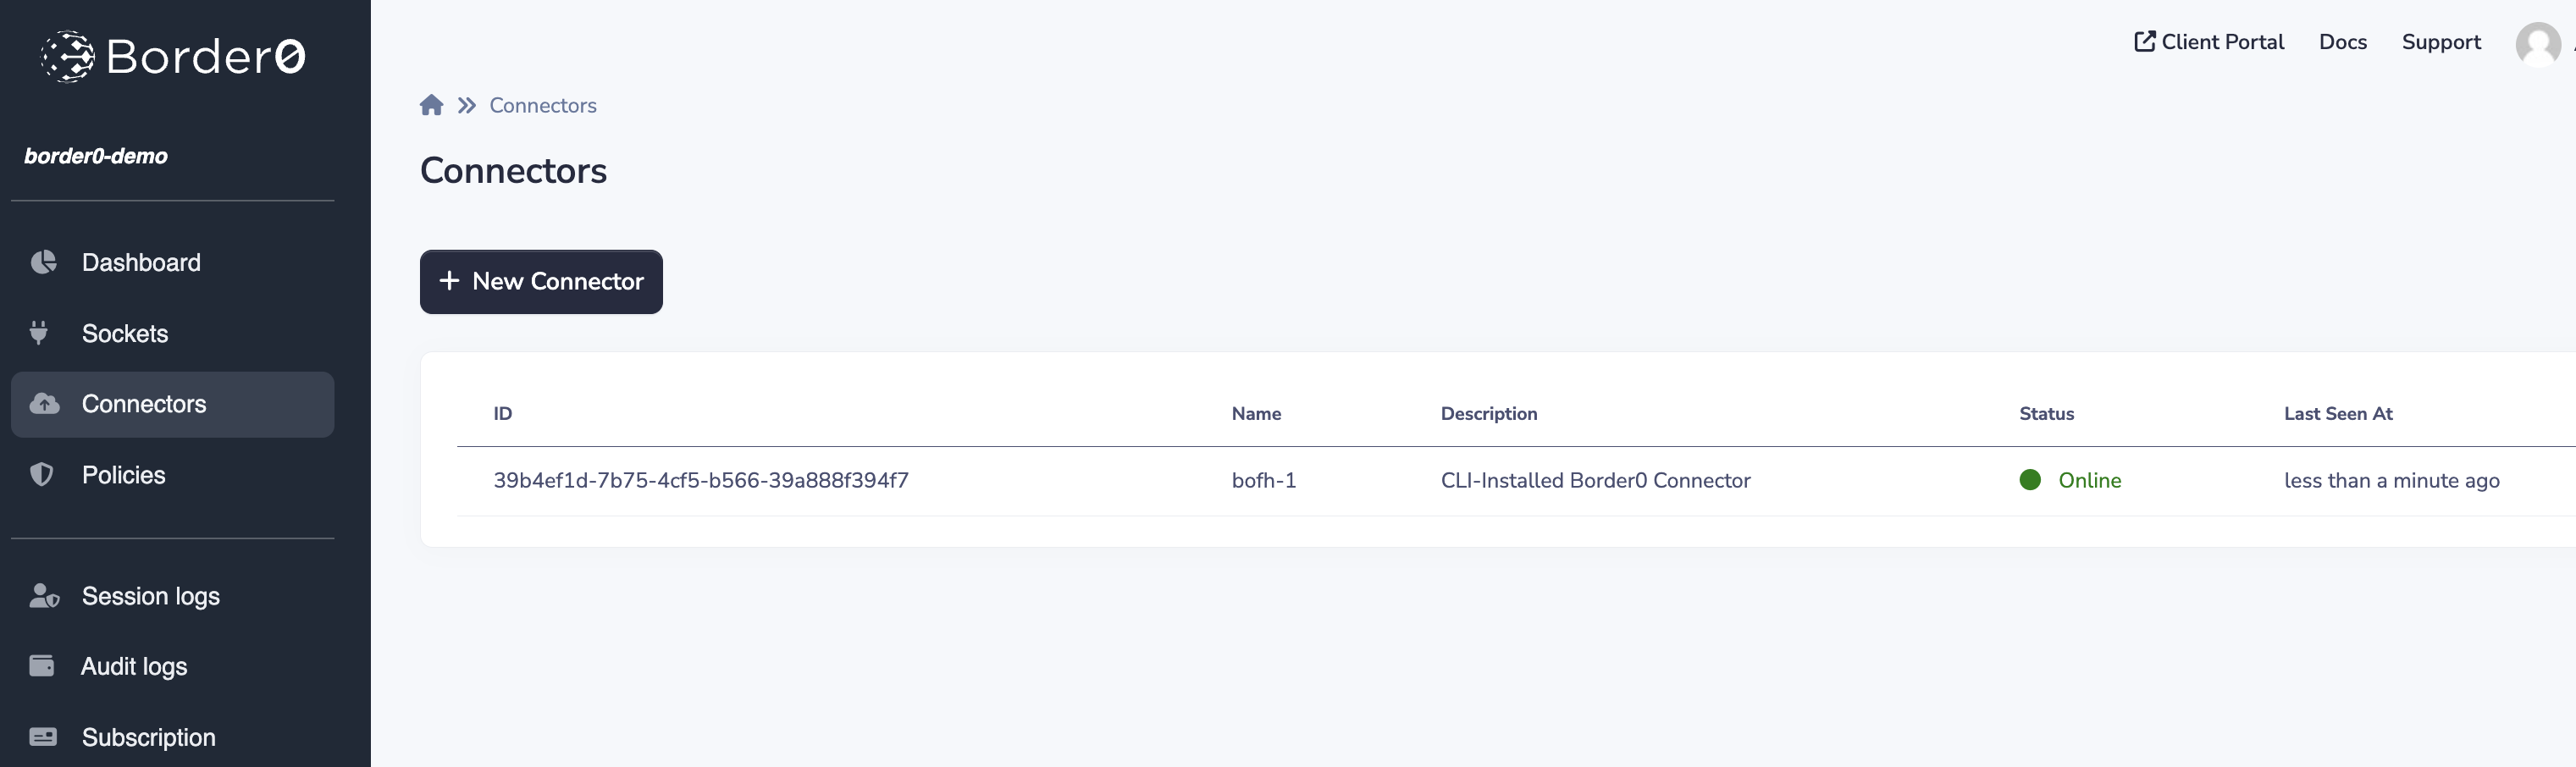
List of your Border0 connectors
The connector provides several built-in services, that can be enabled or disabled by configuring the connector details. By default the connector is configured to run a built-in SSH server, this allows you to get an SSH shell on the connector host.
Your first SSH socket
Next click on your connector to see its details. One of the first things you'll see is the blue connect button. By clicking on the connect button, a new browser window will open, and ask your to authenticate using your SSO credentials. After authenticating, you'll now have a web based SSH terminal into your new connector.
Log in with SSH to your connector.
Updated about 1 year ago