Quick Start
Yah Let's get started!
To get started, you only need three things:
✅ Create an account
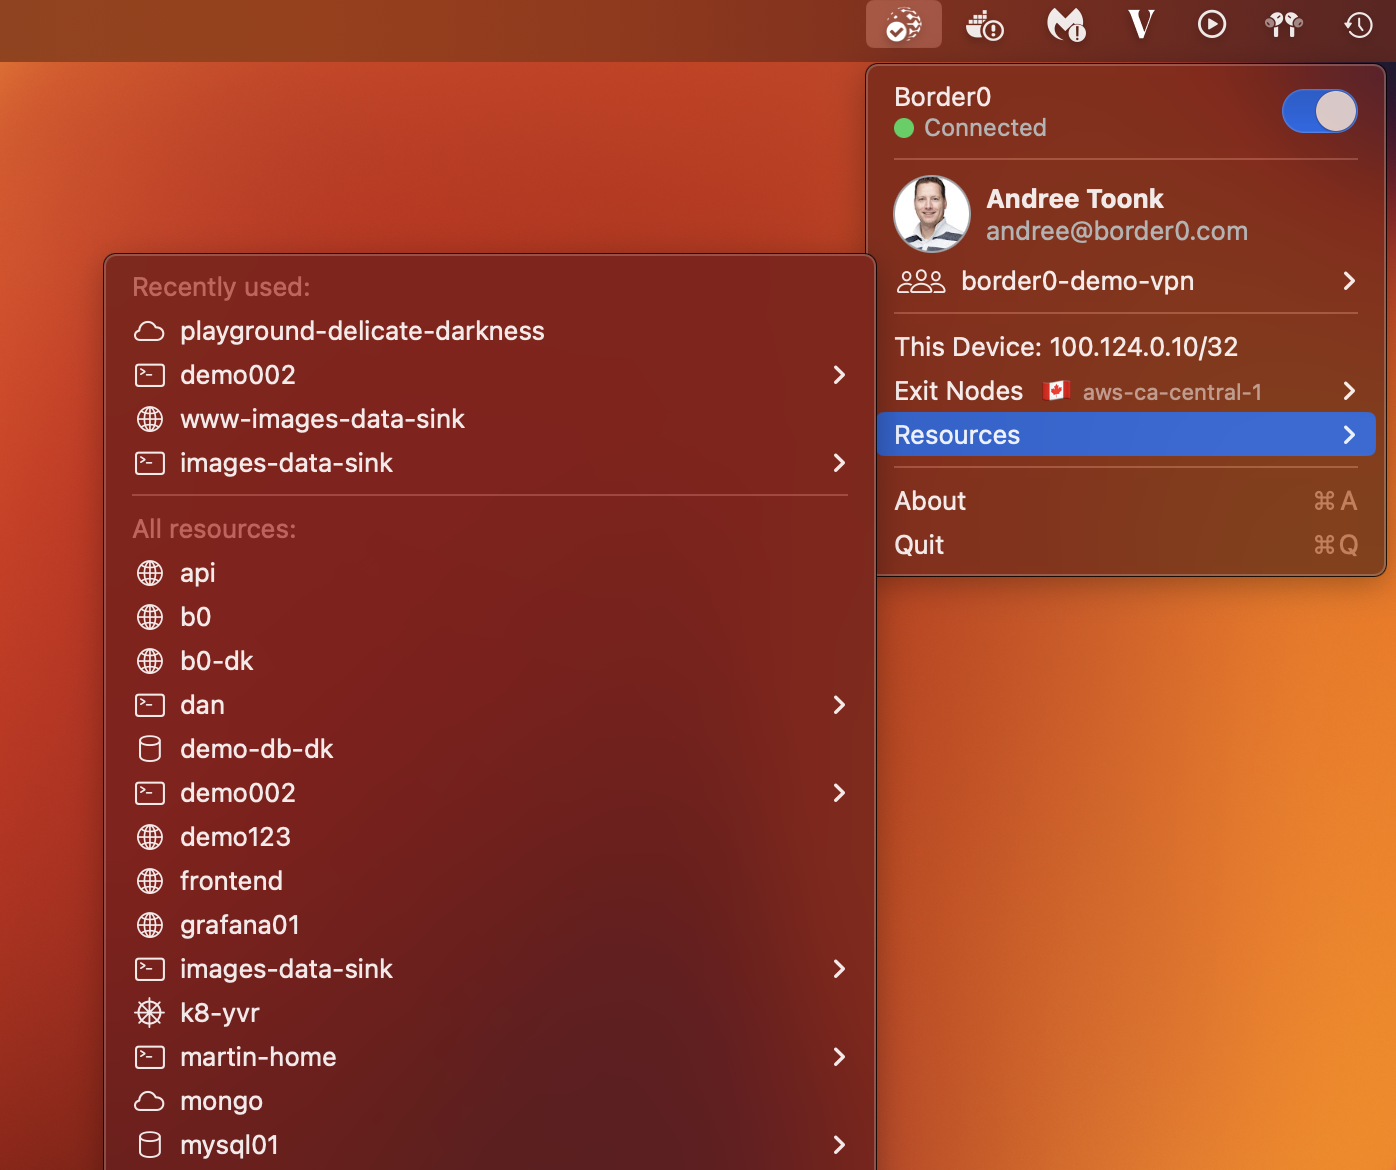
✅ Download the Border0 client
✅ Install your first connector
Don’t worry, it’s quick and easy and we’ll guide you through every step.
Need assistance? This is how to get in touch with us.
Step 1: Create Your Account
Start by signing up with your preferred method:
🔹 Sign up with Google or GitHub (Recommended)
🔹 Or, use your email and password
Step 2: Download the Border0 Client
To interact with Border0, you’ll need to install the Border0 Client.
💡 Think of it like a VPN client—but with a modern touch! Border0 gives you seamless, secure access while unlocking advanced functionality beyond a traditional VPN.
You can find more detailed per OS installation instructions on the links below:
🔹 The Desktop Client includes the CLI, so you get both graphical and command-line access in one package.

Step 3: Install Your First Connector
💡 Border0 is both a VPN and a Privileged Access Management (PAM) solution.
The Border0 Connector acts as an application proxy for PAM and also serves as the VPN gateway, ensuring secure, identity-aware access to private resources, without exposing them to the internet.
How to Install your FirstConnector (for more details also see "Installing the connector")
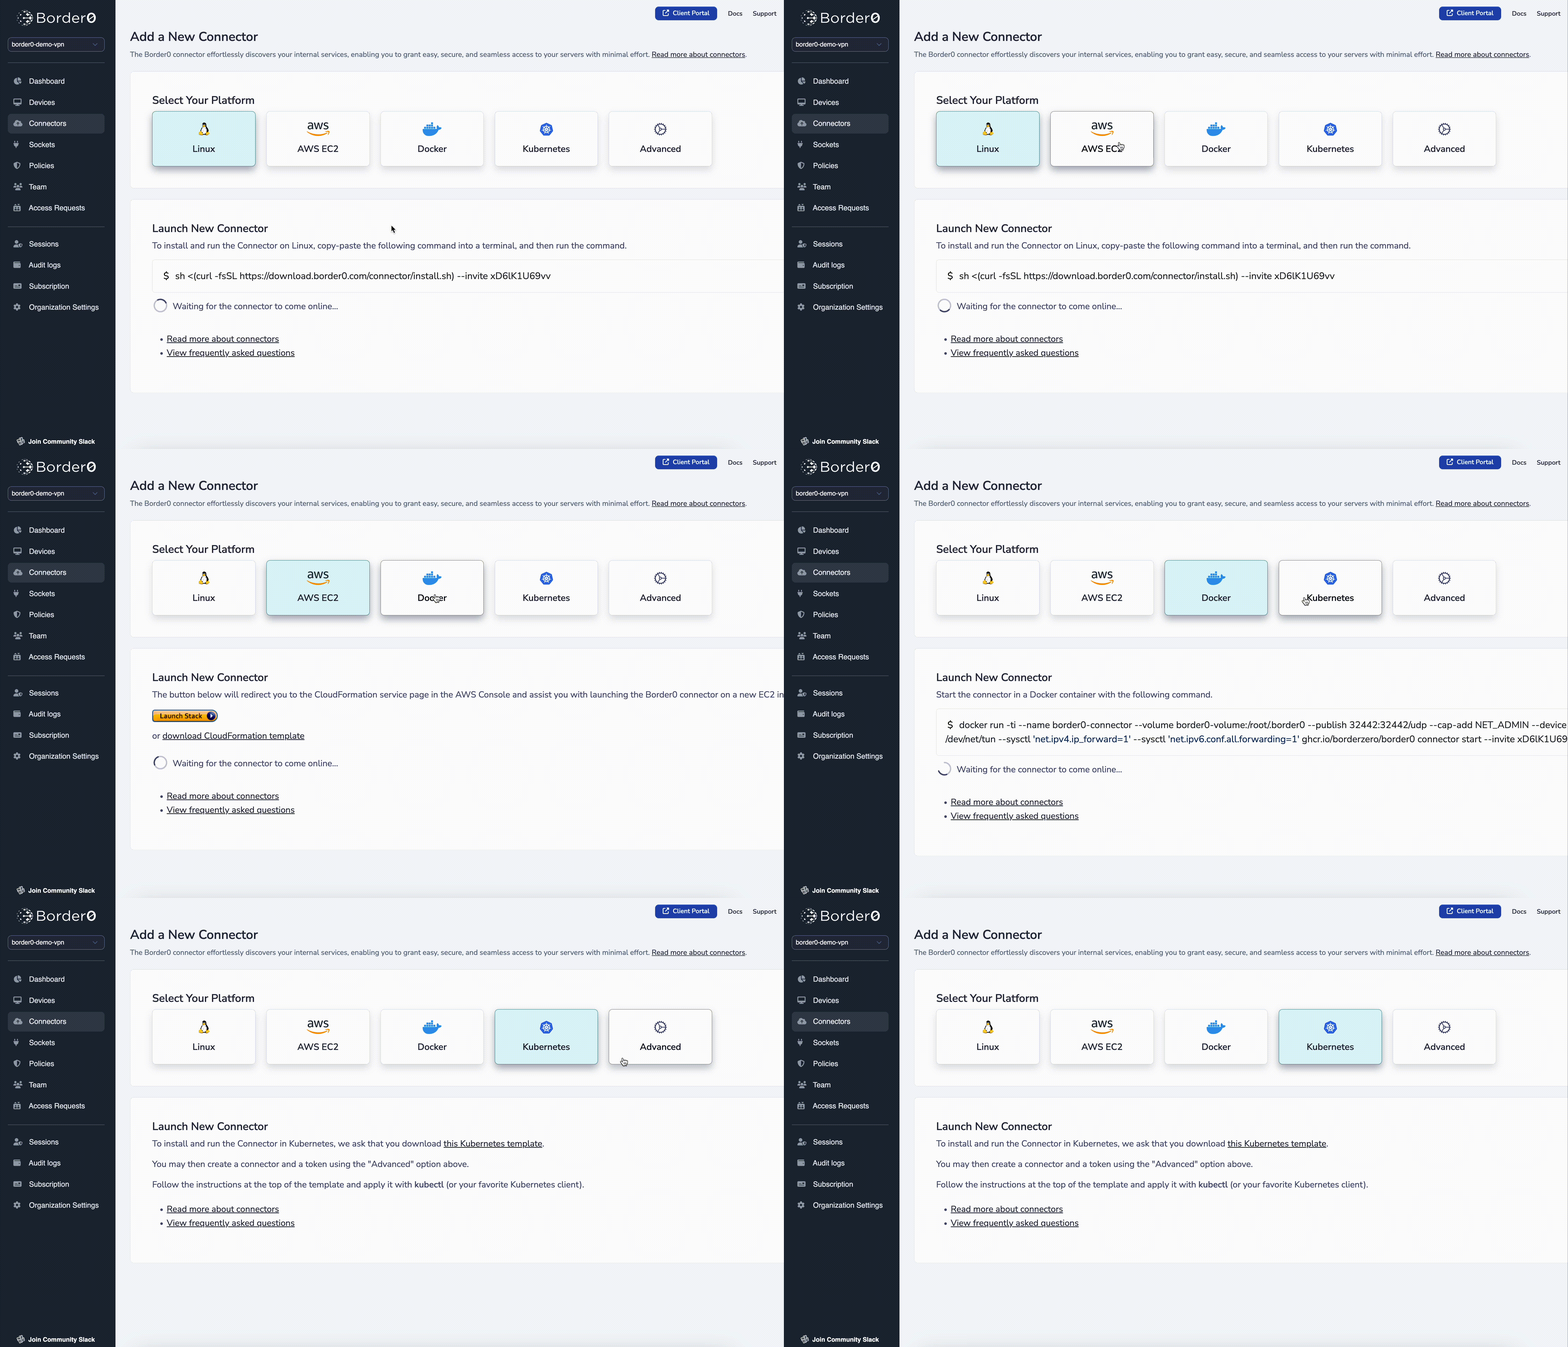
1️⃣ Browse to the Connectors page in the the Border0 Portal, and select "Add New Connector"
2️⃣ Select your preferred installation method and follow the instructions.

Installing a new connector
🚀 Once installed, you can create resources, which will appear in your Border0 client—allowing you to securely access them with a single click!
Updated 27 days ago
Congrats! you've now created an account and have our tools installed! Let's create your first Border0 service 🚀
